
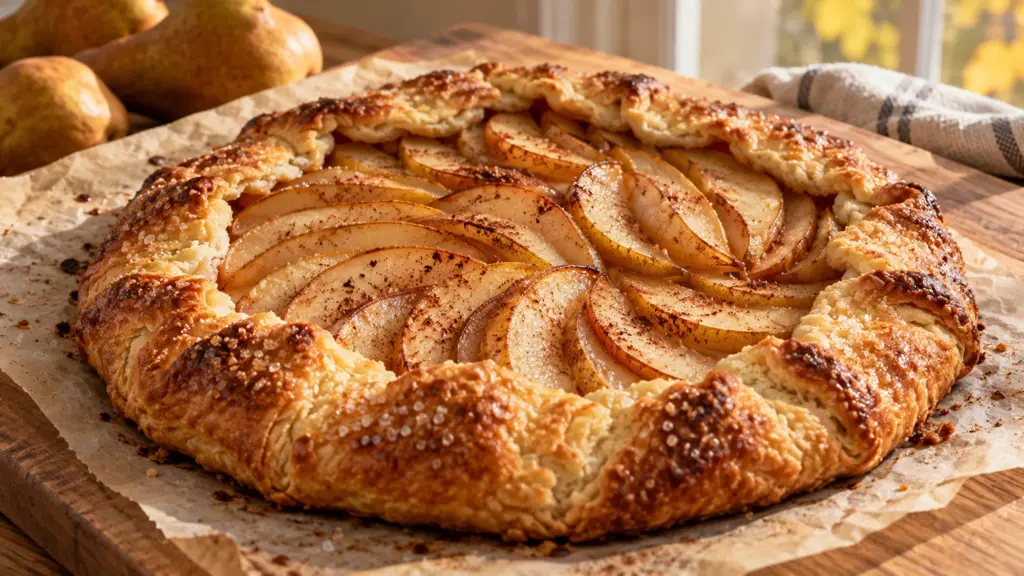
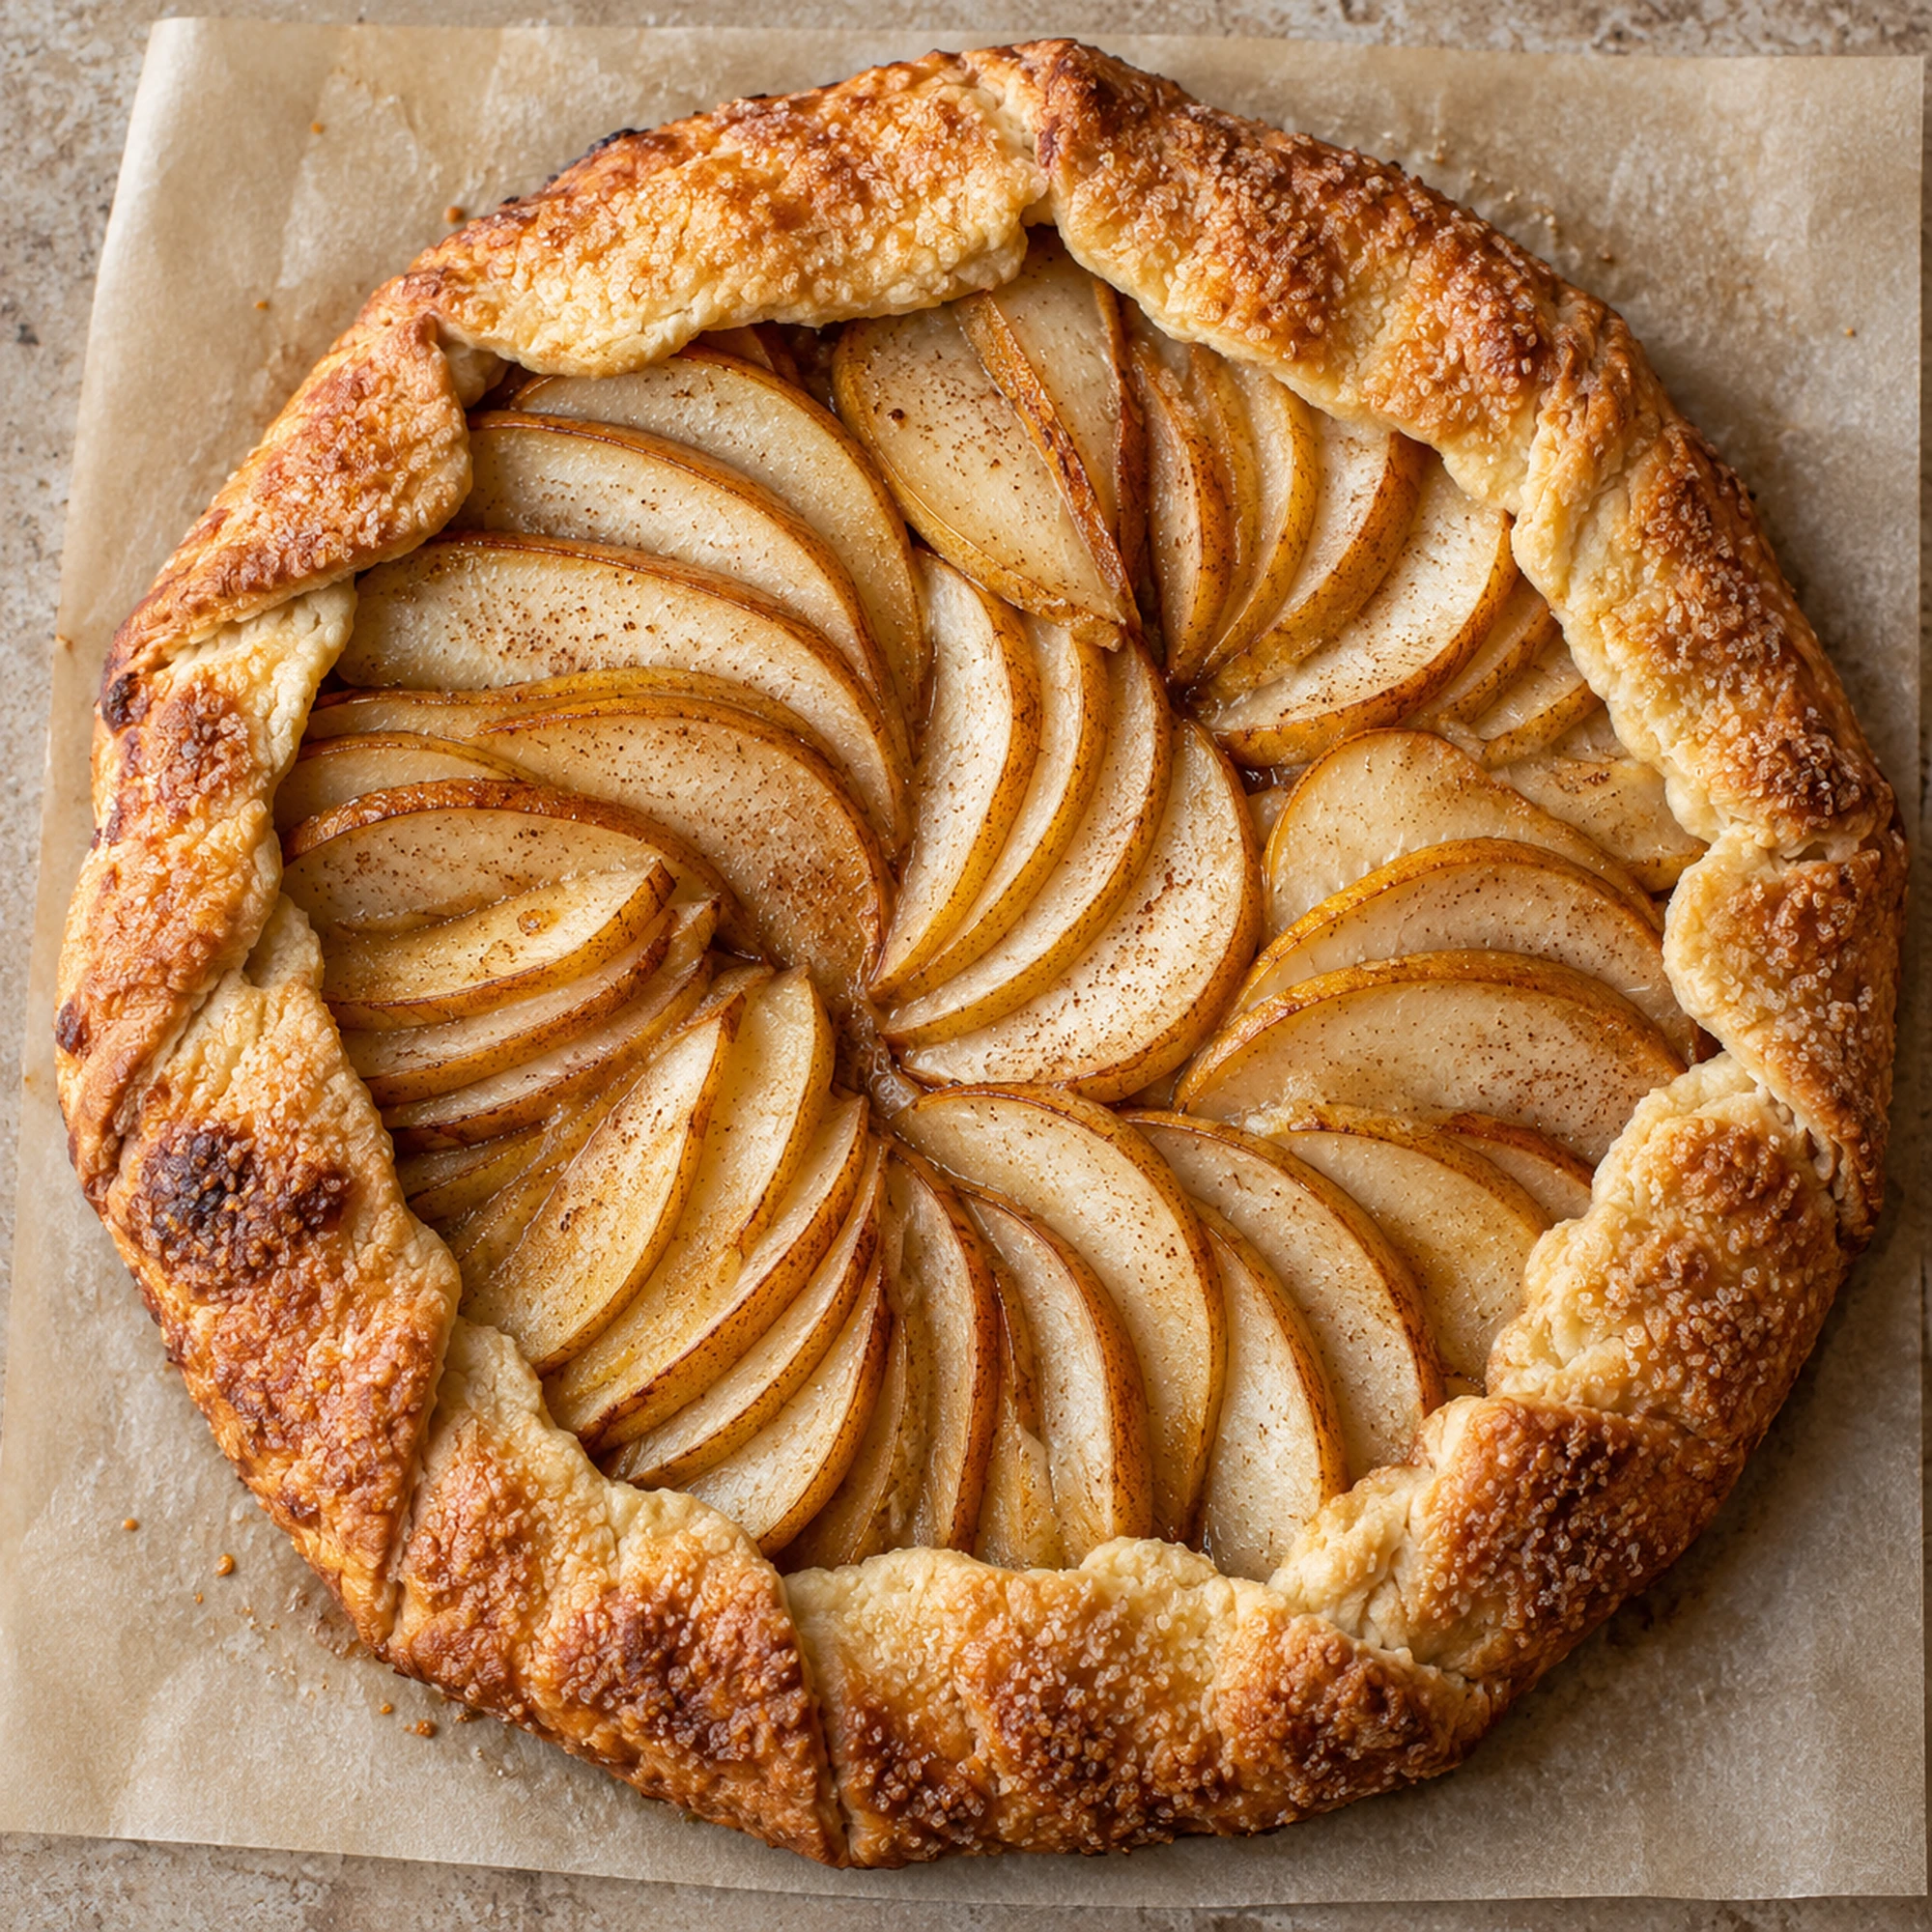
A pear galette is the answer when a full pie feels like more ceremony than dessert needs. Thin pear slices sit inside a buttery crust with the edges folded casually over the fruit. The center stays open, the pastry turns golden, and a little cinnamon makes the whole thing feel right for a cool evening.
Use pears that are ripe but still hold their shape, keep the butter cold, and leave a clear border for folding. This free-form tart needs a baking sheet rather than a pie plate. Its uneven edges are part of the charm, not a mistake to disguise.
I like leaving the pear skins on for their color and a little extra texture. Slice them thinly enough to soften while the crust bakes. If the fruit is so soft that it collapses under the knife, save it for a sauce or smoothie instead of forcing it into neat slices.
Serving Suggestions for Pear Galette
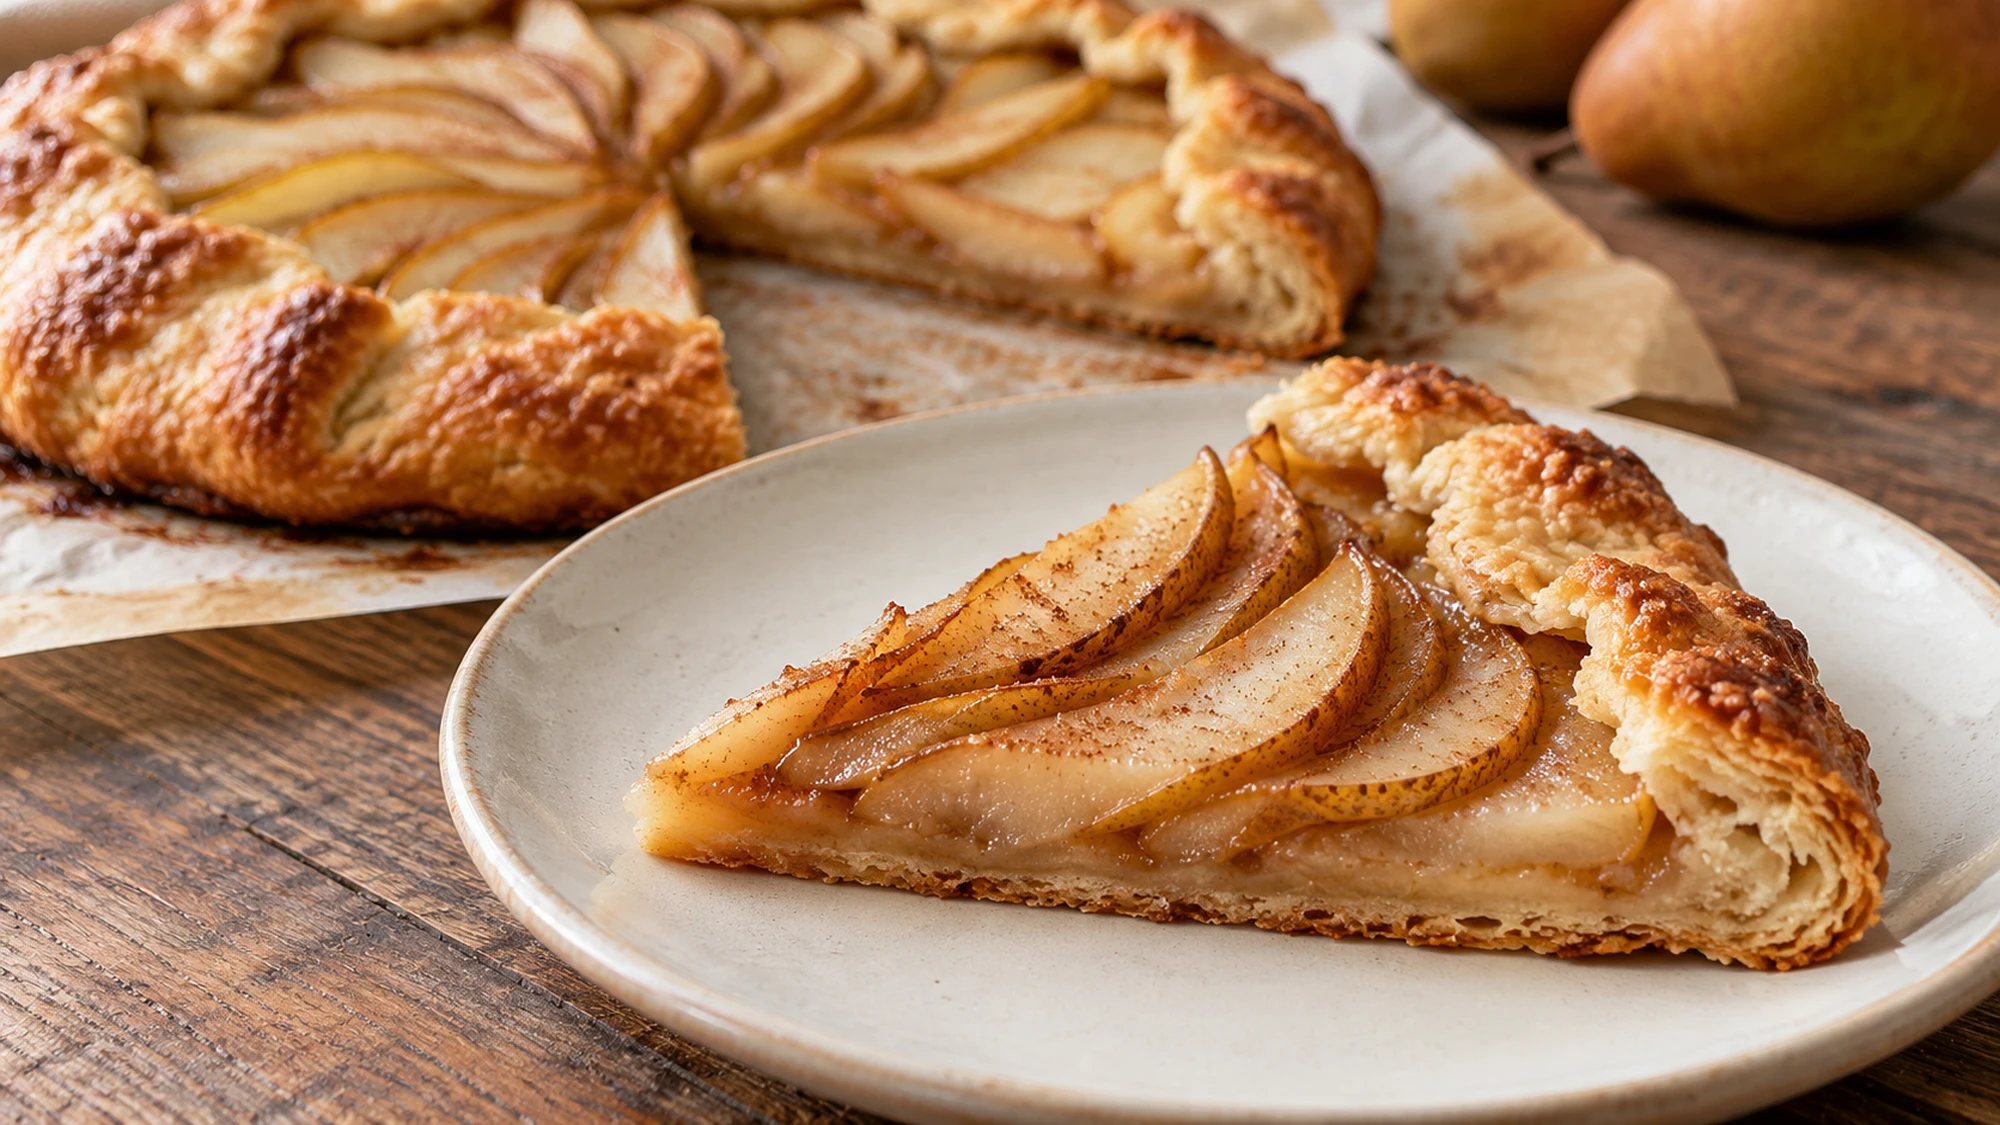
Let the galette rest before cutting so the fruit juices settle and the pastry firms enough to lift. A wide spatula helps move a wedge without losing its pointed end. Serve it warm rather than piping hot, with coffee or tea after dinner, or at room temperature on a fall dessert table.
- Cut into eight wedges for the serving size used in the nutrition estimate.
- Offer vanilla ice cream separately if desired, rather than covering the whole tart and softening the crust.
- Keep the galette on its parchment when moving it from the baking sheet to a serving board.
This is best on the day it is baked, when the contrast between flaky crust and tender pears is strongest. Refrigerate leftovers covered within two hours and use within three days. To restore some crispness, warm a slice in a 325°F oven; a microwave heats it faster but leaves the pastry softer.
Give the tart a short rest and serve modest wedges. Any creamy topping is optional and is not included in the recipe’s nutrition estimate.
Variations and Better Pear Choices
Bosc or Anjou pears work well when they are ripe but firm enough to slice. The USA Pears ripeness guide explains how gentle pressure near the neck helps judge softness. For this tart, avoid both rock-hard fruit and very soft pears that release a lot of juice.
| Pastry clue | Helpful response |
|---|---|
| Edges crack while rolling | Let the chilled dough soften briefly |
| Dough feels greasy | Return it to the refrigerator |
| Fruit slides over the border | Move it inward before folding |
For a gentler flavor, omit the cinnamon rather than adding another topping. Keep the lemon juice for a little brightness. I would not pile in extra fruit: a tall mound can leave the bottom pastry struggling to bake while the outside browns. Keep the slices in a fairly even layer and leave the border free.
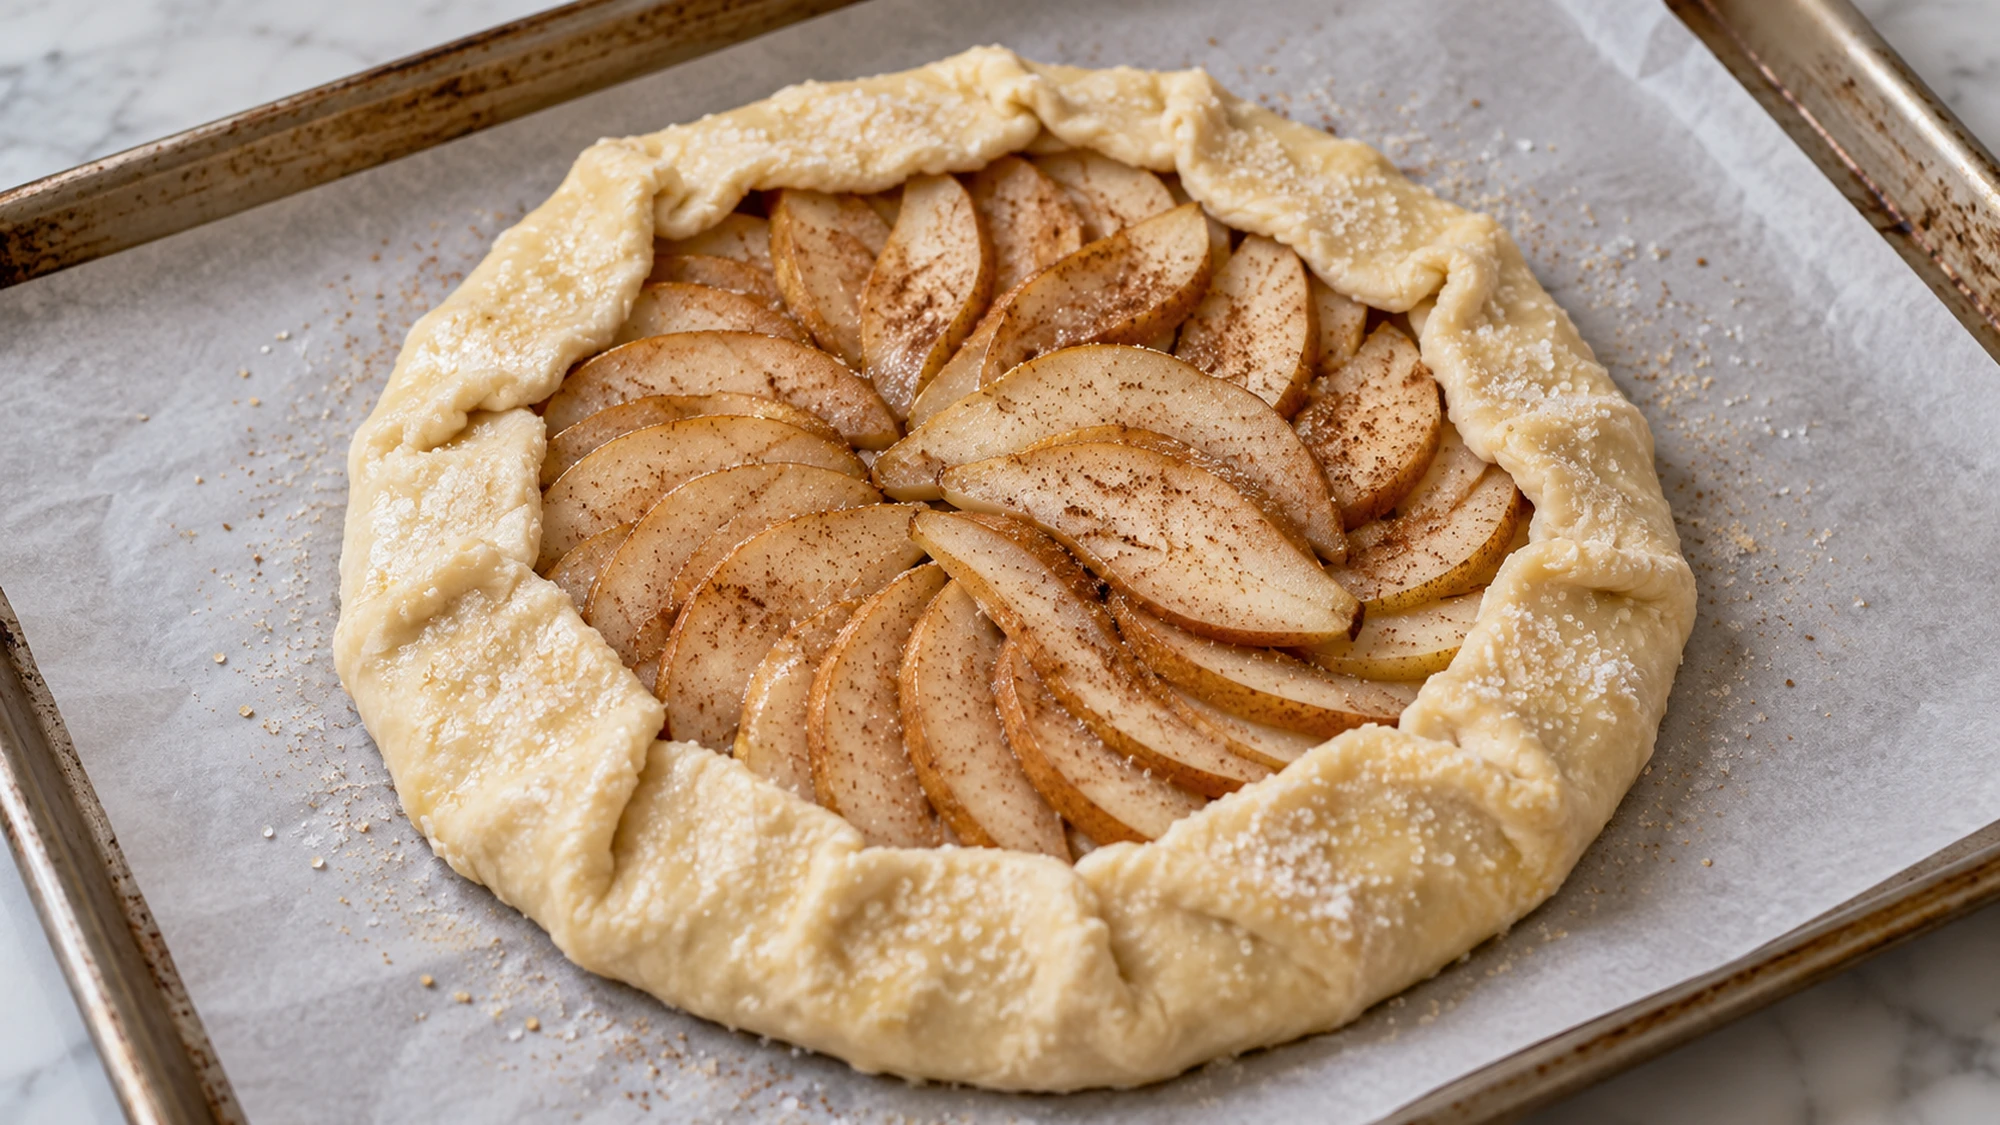
A galette is forgiving about appearance, but cold pastry and a sensible amount of filling still matter. Patch small cracks before baking so juices stay inside.
Health Benefits and Everyday Balance
Pears contribute fiber, including in their skins, but this is still a butter-and-sugar dessert. The estimated nutrition is for one eighth of the plain galette, with no ice cream or whipped cream. Keeping the portion clear is more useful than calling a fruit-filled pastry automatically healthy.
Wash pears under running water before slicing, even if you decide to peel them. The FDA’s produce-cleaning guidance recommends plain water rather than soap and explains why washing should happen before cutting. Dry the fruit afterward so extra water does not join the filling.
- The crust contains wheat and milk; this is not a gluten-free or dairy-free dessert.
- Do not taste raw pastry, since uncooked flour can carry harmful germs.
- Keep the work surface and knife clean, and remove pear cores and seeds before slicing.
Enjoy the fruit, the flaky edges, and the cinnamon without turning them into a health claim. Simple ingredients still deserve sensible portions and careful handling.
Bottom Line
Pear galette gives seasonal fruit a buttery frame without requiring a perfect pie crust. Chill the dough, slice the pears evenly, and bake until the bottom and folded edges are truly golden. Find more dessert ideas for an autumn table with room for something beyond pumpkin.

Pear Galette Recipe
Ingredients
Equipment
Method
- Combine 180 g flour, 12.5 g sugar, and salt. Cut in cold butter with a pastry blender or fingertips until the mixture has pea-sized pieces. Add 4 tablespoons ice water and toss until clumps hold together when squeezed; add up to 1 tablespoon more only if needed. Press into a disk, wrap, and refrigerate 45 minutes.
- Heat oven to 400°F. Wash and dry pears, remove stems, cores, and seeds, then slice about 1/8 inch thick. Weigh 500 g prepared fruit. Toss gently with 25 g sugar, 12 g flour, lemon juice, and cinnamon just before assembling.
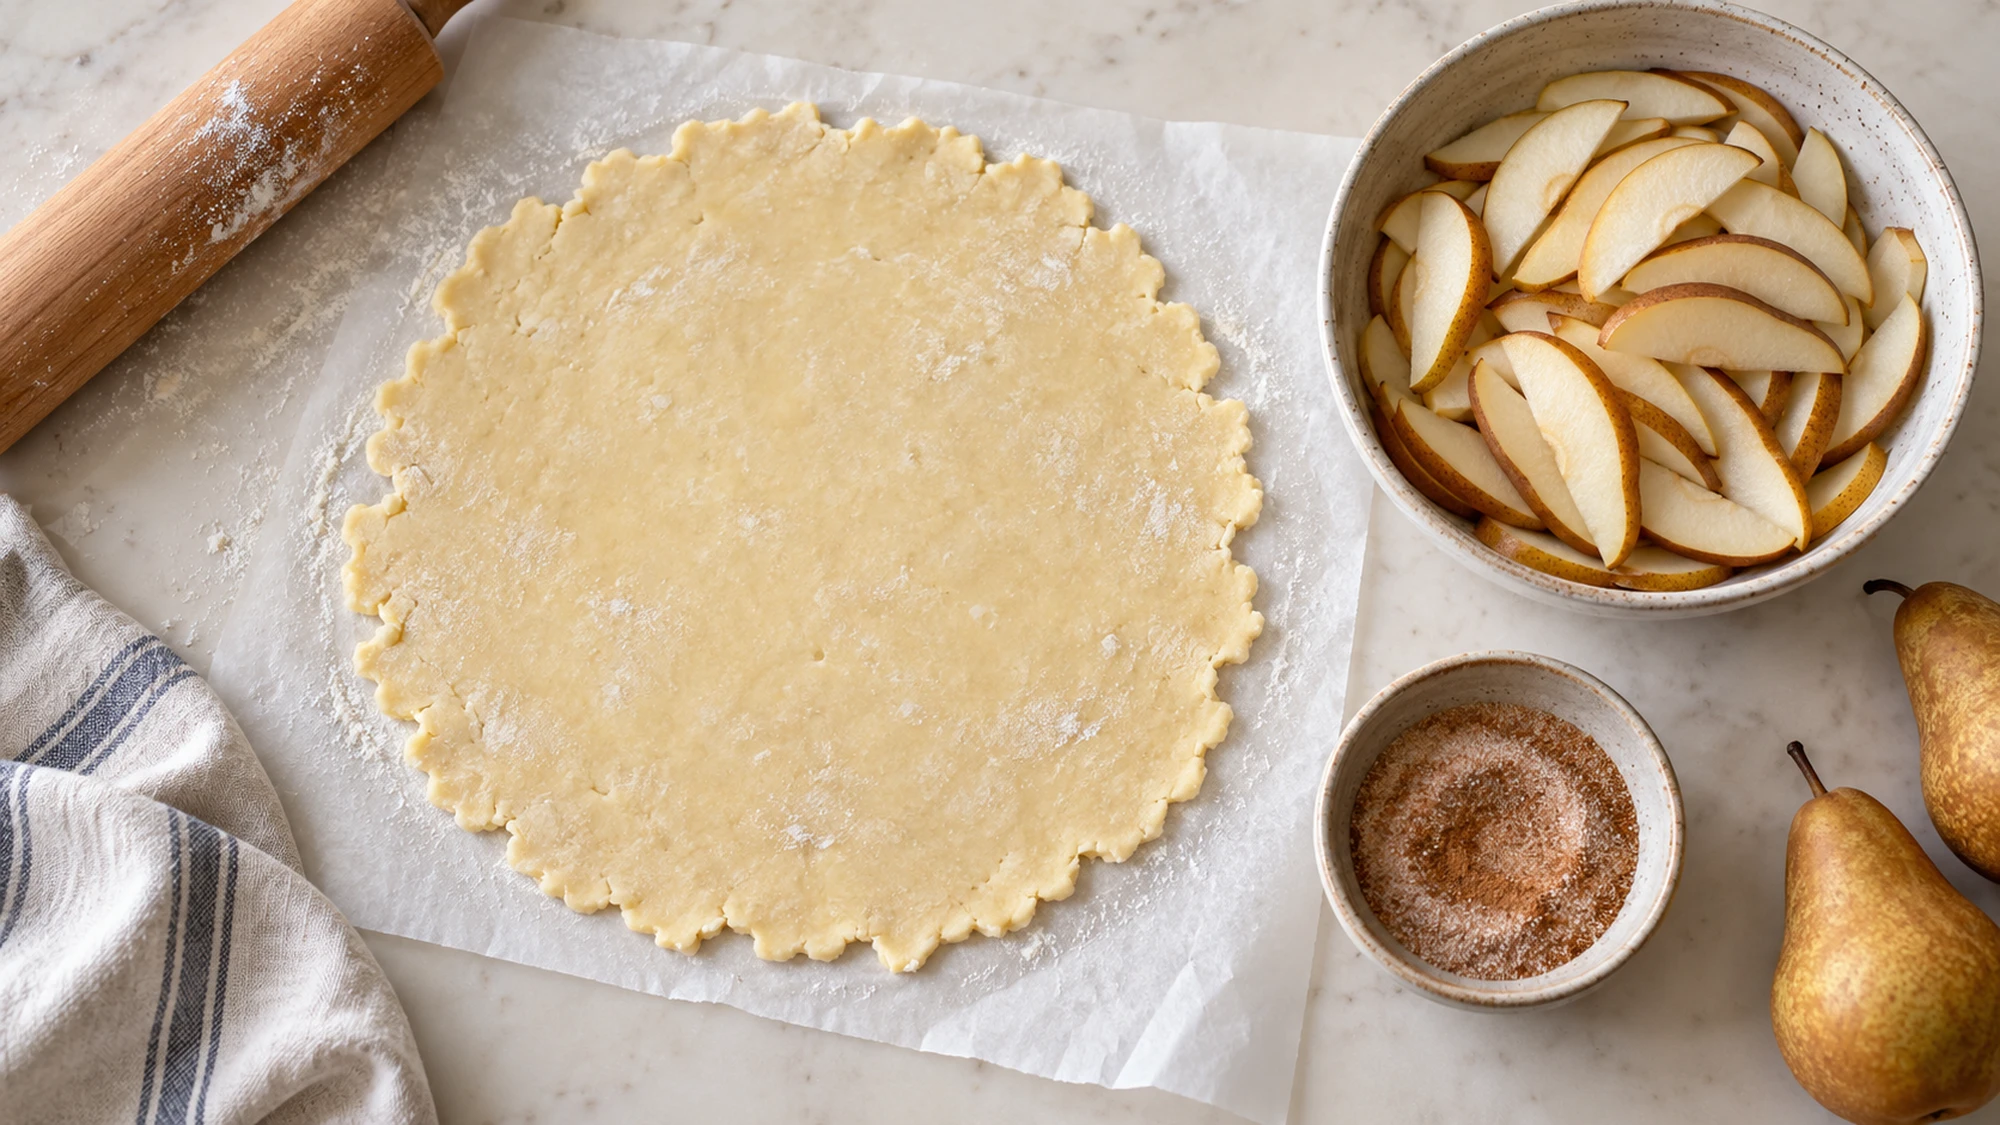
- Roll dough between two sheets of parchment into a 12-inch circle. Remove the upper sheet and slide the lower parchment and dough onto a large rimmed baking sheet. Arrange pears evenly in the center, leaving a 2-inch border; leave excess pooled liquid in the bowl. Fold the border over the fruit in overlapping sections, pressing cracks closed.
- Brush the exposed crust with milk and sprinkle with the remaining 12.5 g sugar. Refrigerate the assembled galette 15 minutes. Bake 40–45 minutes, until crust is deeply golden, bottom is baked through, and a knife slips easily into the pears. If edges brown early, cover just the edges loosely with foil.
- Cool on the baking sheet 20 minutes before cutting into 8 wedges. Refrigerate covered leftovers within 2 hours and use within 3 days.