
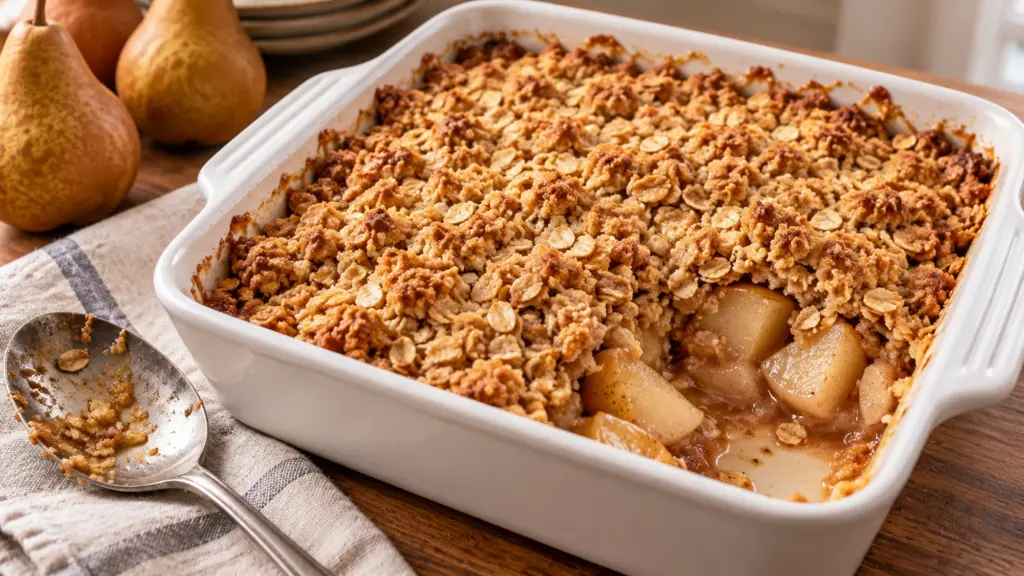
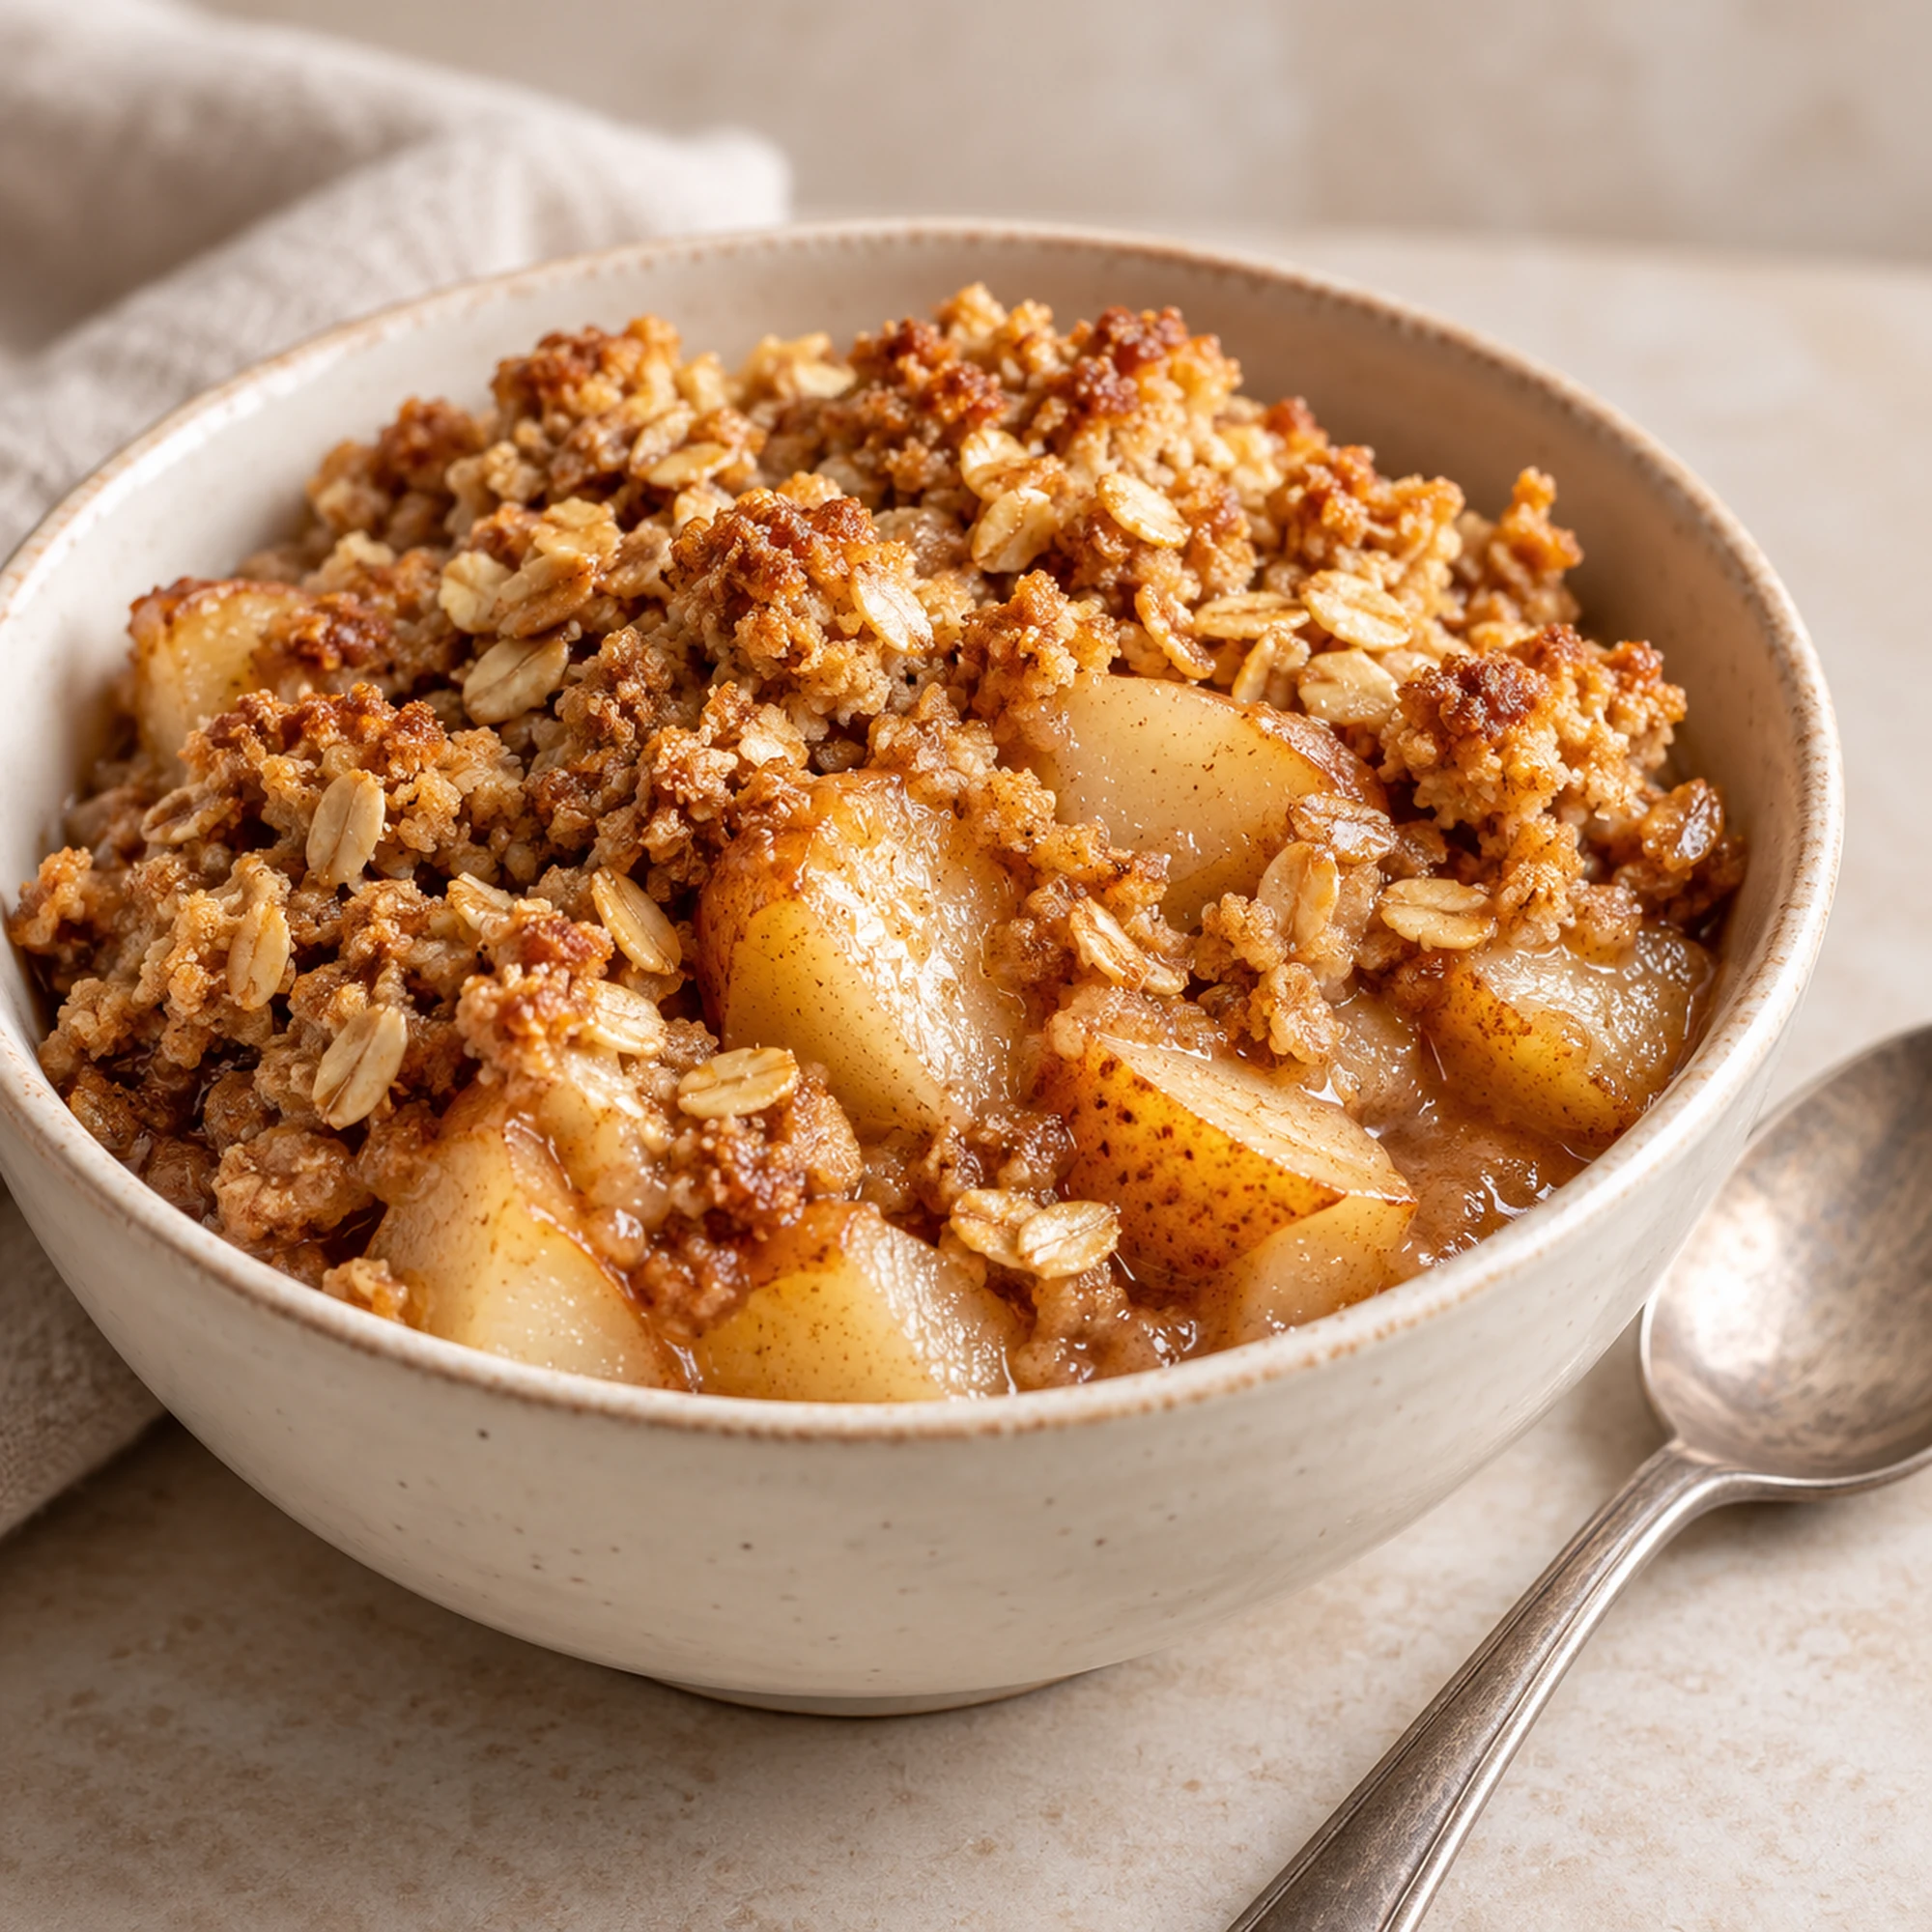
Pear crisp is a comfortable change from apple desserts: soft, fragrant fruit beneath a golden topping of oats, brown sugar, and butter. Bosc pears hold their shape in small chunks, and a little ginger adds warmth without overwhelming their flavor. There is no pastry to roll, and the topping comes together by hand.
Choose pears that are ripe but not collapsing. Firm, unripe fruit can stay stubbornly crunchy, while very soft pears may bake into a loose sauce. The useful finish line is bubbling juice and tender fruit under a browned topping, not a timer alone. A short rest after baking lets those juices settle before you start scooping.
Serving Suggestions for Pear Crisp
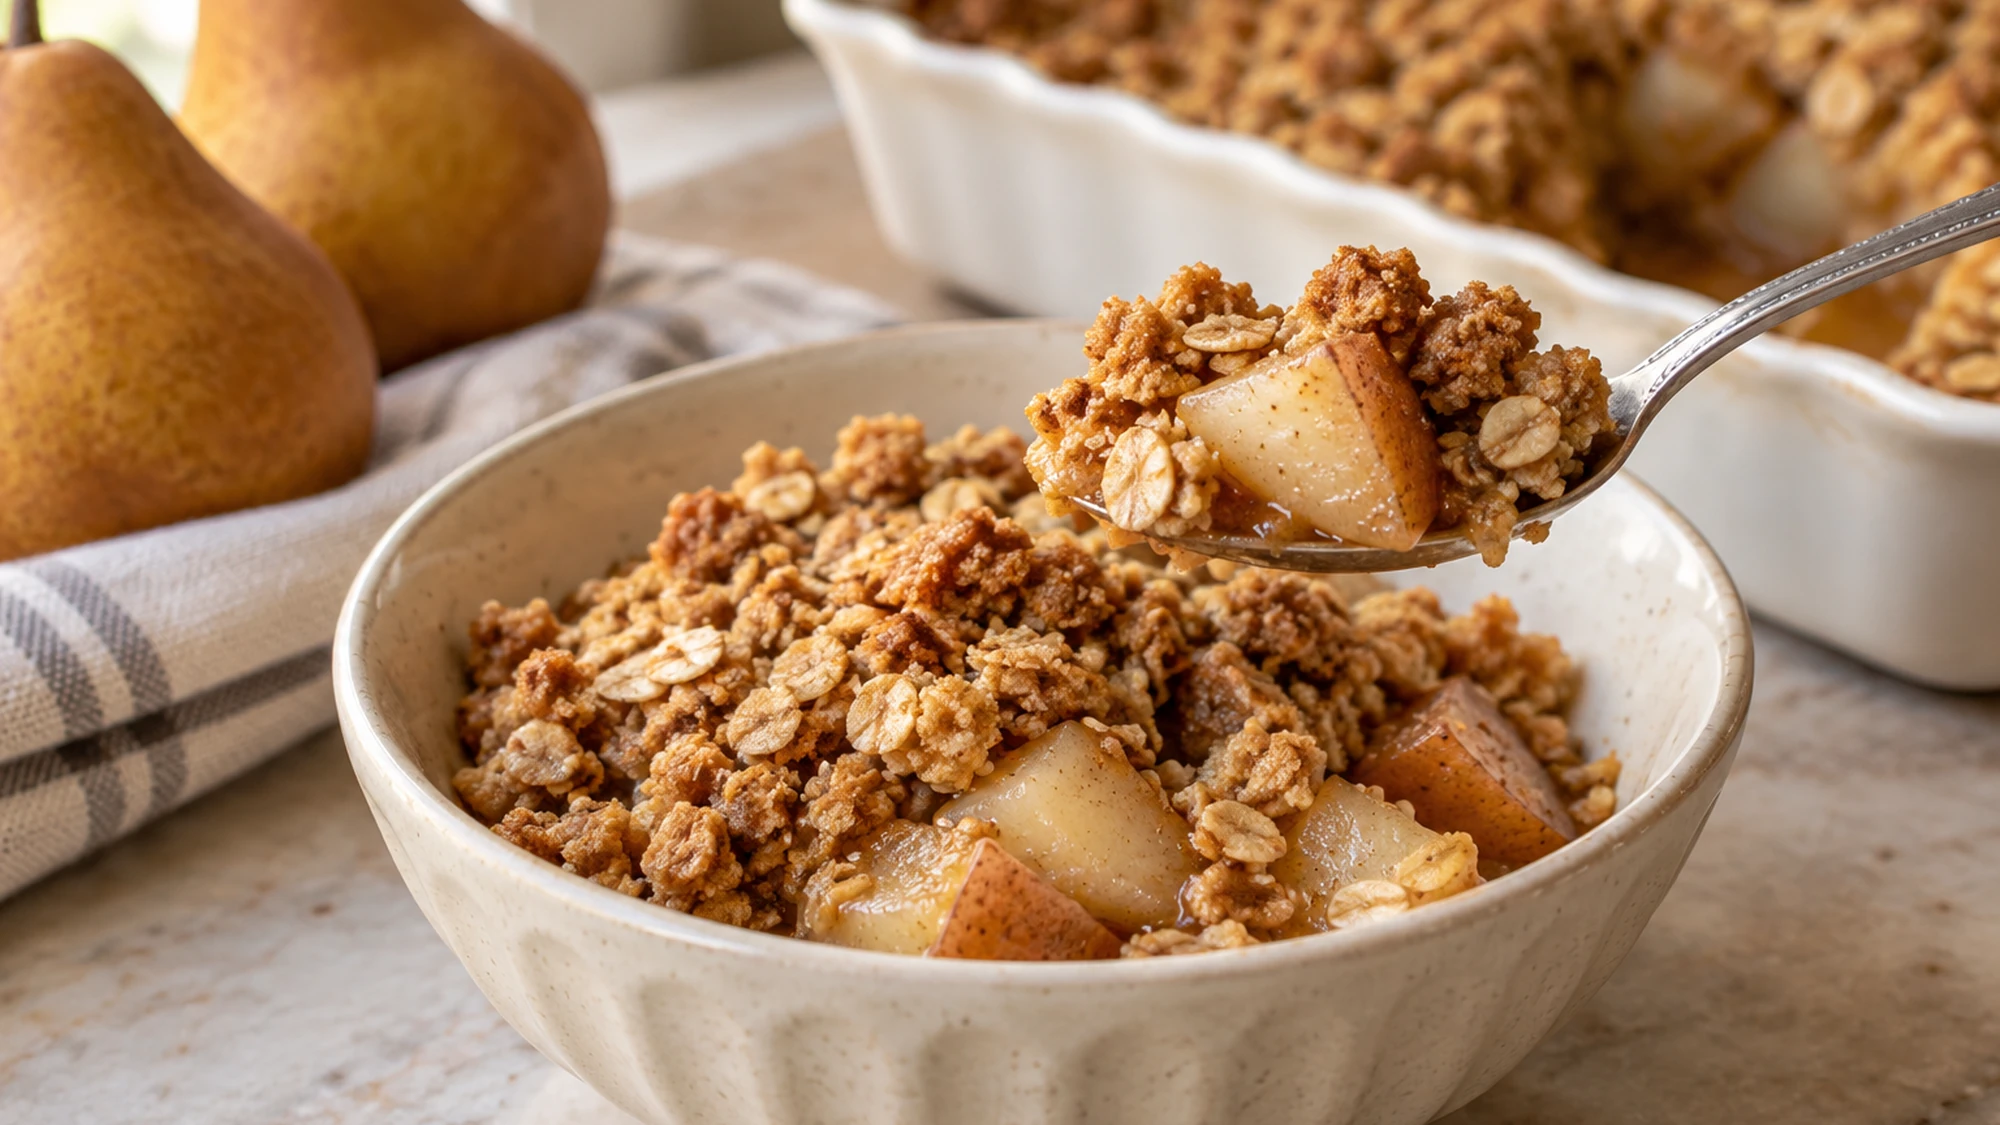
Spoon the crisp into small bowls while it is warm rather than piping hot. Take the spoon down through both layers so each serving has fruit as well as topping. I like the contrast between the soft pears and toasted oats most when the crisp has rested for about fifteen minutes, before steam has softened the top too much.
- Serve it plain to keep the pear flavor central. A little vanilla ice cream is a classic option, but add it to individual bowls, not the whole baking dish.
- For a less sweet accompaniment, offer plain yogurt separately. It brings a tangy contrast without changing the actual crisp recipe, and everyone can choose how much to add.
- For a holiday dessert spread, put out a serving spoon wide enough to lift some topping with the fruit. The Nutrelle Eats dessert collection has more ideas for a second dessert with a different texture.
Refrigerate cooled leftovers in a covered container for up to four days. Rewarm portions in a 325°F oven until hot, checking after about fifteen minutes. A microwave works for a quick bowl, but it will not restore the topping’s crisp texture. Keep any cream or ice cream separate until serving.
Give the pan its short rest and scoop through both layers; the balance of fruit and topping is the point.
Variations and Choosing Pears
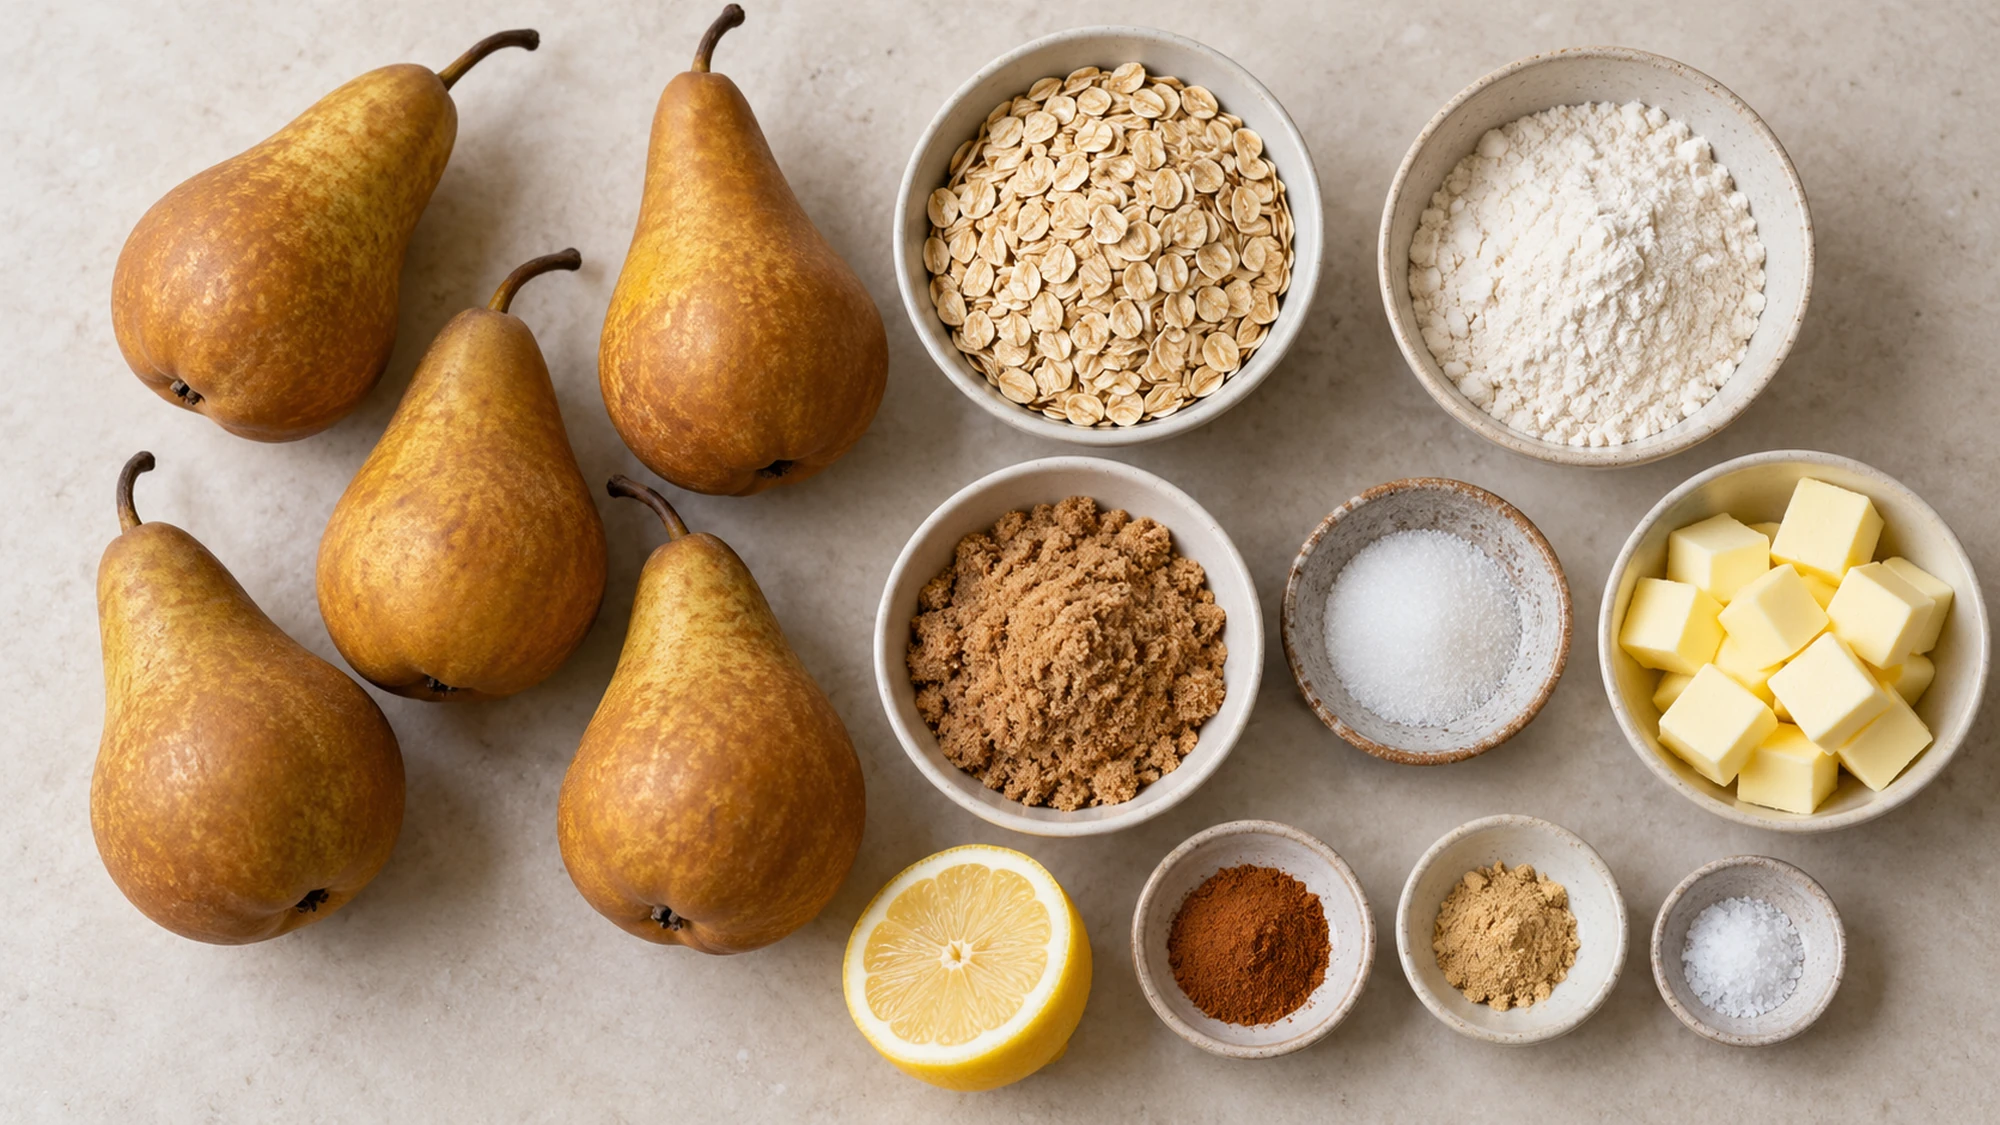
Bosc or Anjou pears are good choices here. USA Pears recommends firmer varieties for baking and checking ripeness near the stem, rather than relying only on color. Wash, core, and weigh the prepared fruit, leaving the thin skins on. Trim away the stem and the tough central core before cutting evenly sized pieces.
| Pear condition | How to handle it |
|---|---|
| Ripe with a little firmness | Use as written; pieces should soften while keeping some shape. |
| Hard near the stem | Let ripen at room temperature before making the dessert. |
| Very soft or leaking juice | Choose firmer pears for this crisp; use sound overripe fruit for a sauce instead. |
| Mixed sizes | Weigh the cored fruit so the filling depth stays consistent. |
I would keep the first version nut-free so the oat texture stands out. A small handful of chopped walnuts is an optional variation, but it changes the allergen information and nutrition. Do not replace rolled oats with steel-cut oats: their size and cooking needs are different. Quick oats make a finer, less distinct topping than old-fashioned oats.
Match the fruit’s ripeness to the recipe, and keep the oat topping loose instead of pressing it into a solid lid.
Health Benefits in Perspective
Pears and oats both contribute fiber. The FDA lists fruit and whole grains among food sources of dietary fiber. Leaving the skins on keeps that part of the fruit in the dish, although this remains a sweet dessert with butter and added sugar rather than a serving of plain fruit.
The nutrition estimate divides the whole dish into six portions, without accompaniments. Smaller bowls make more servings and larger bowls make fewer. There is no need to make promises about digestion or blood sugar to appreciate a dessert that uses familiar ingredients and lets the fruit remain visible under the topping.
Enjoy the pears, oats, and warm spice together, while keeping the portion and optional toppings in view.
Bottom Line
Check the center with a small knife before taking the dish out: the pears should yield easily, and juice should bubble through the topping in more than one spot. If the oats brown first, cover loosely with foil and keep baking. A golden surface is not proof that the fruit underneath is ready.
Ripe pears, a loose oat crumble, and a little patience after baking make this an uncomplicated seasonal dessert.

Pear Crisp Recipe
Ingredients
Equipment
Method
- Heat the oven to 375°F. Butter a 9-inch square baking dish with the teaspoon of butter. Rinse the pears, remove stems and cores, and cut into roughly 1/2-inch pieces, leaving the skins on. Weigh 900 g of prepared fruit.
- Toss the pears with lemon juice, granulated sugar, the 2 tablespoons flour, cinnamon, and ginger. Spread evenly in the prepared dish.
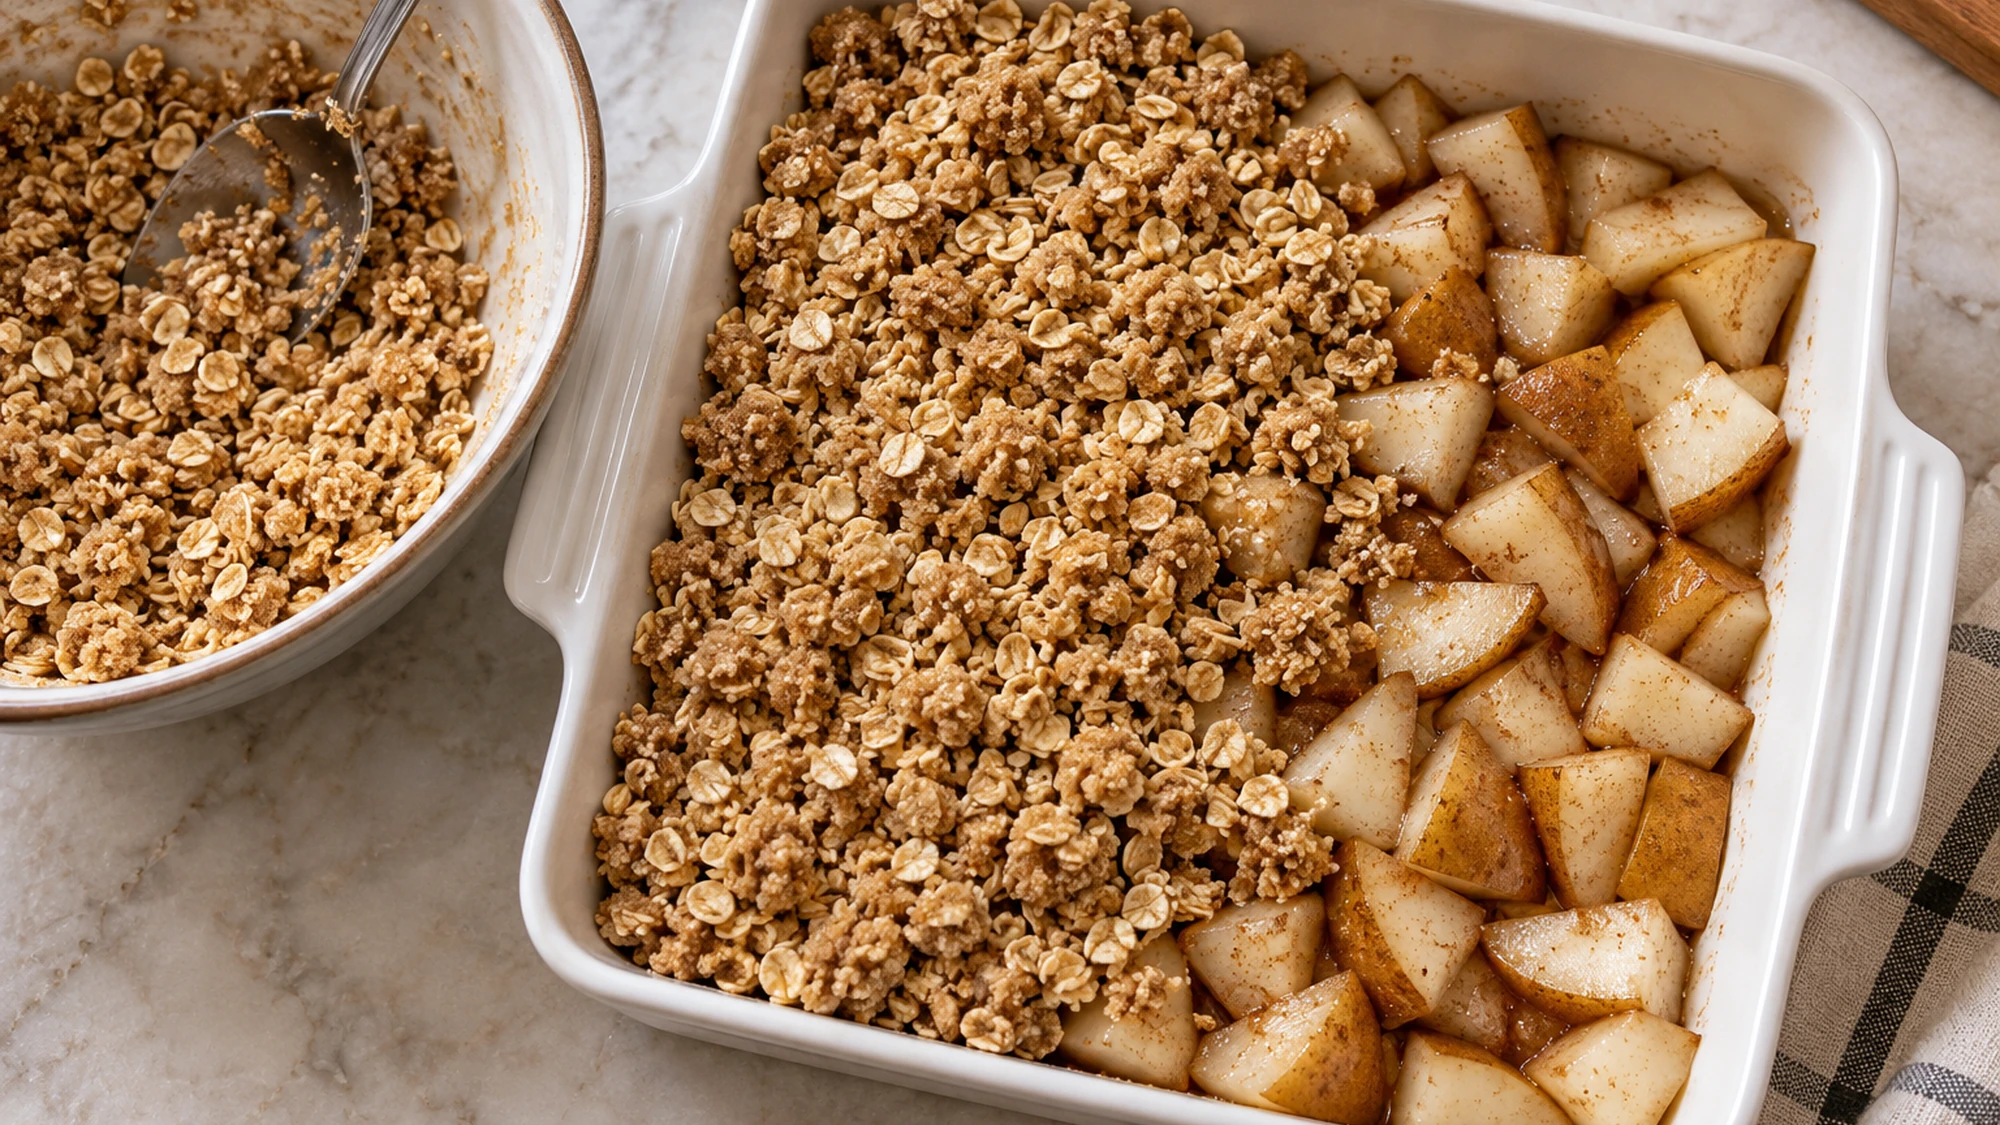
- Combine oats, the remaining 1/2 cup flour, brown sugar, and salt in a bowl. Rub in the 85 g cold butter with fingertips or a pastry cutter until the mixture forms small, uneven clumps. Scatter over the pears without packing it down. Do not taste the raw flour mixture.
- Bake for 40–50 minutes, until the topping is golden, juices bubble through several places including near the center, and a small knife slides easily into a central pear piece. Cover loosely with foil if the topping browns before the fruit is tender; continue baking as needed.
- Rest on a rack for 15 minutes before dividing into 6 servings. Refrigerate cooled leftovers, covered, for up to 4 days. Keep optional accompaniments separate.