
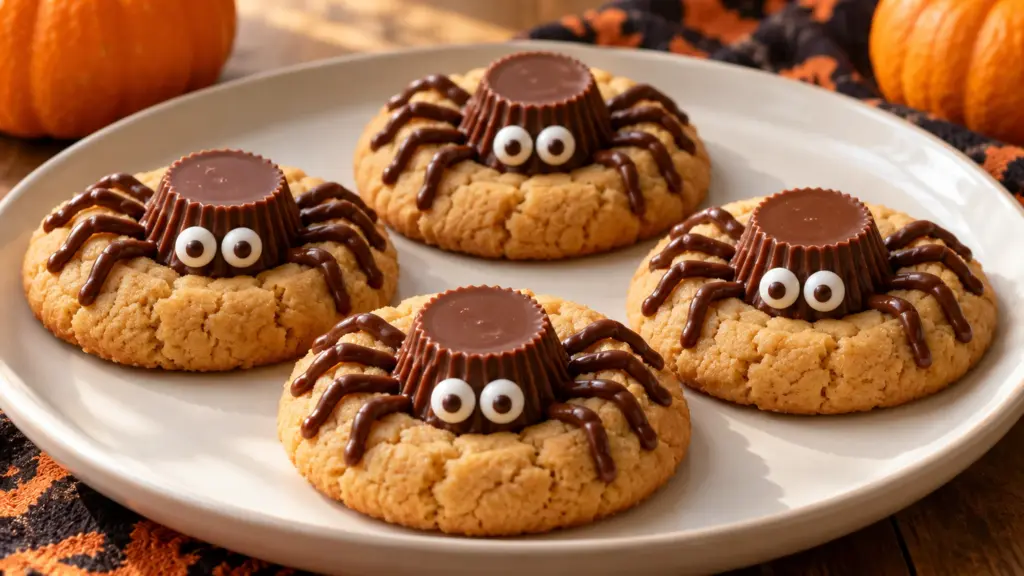
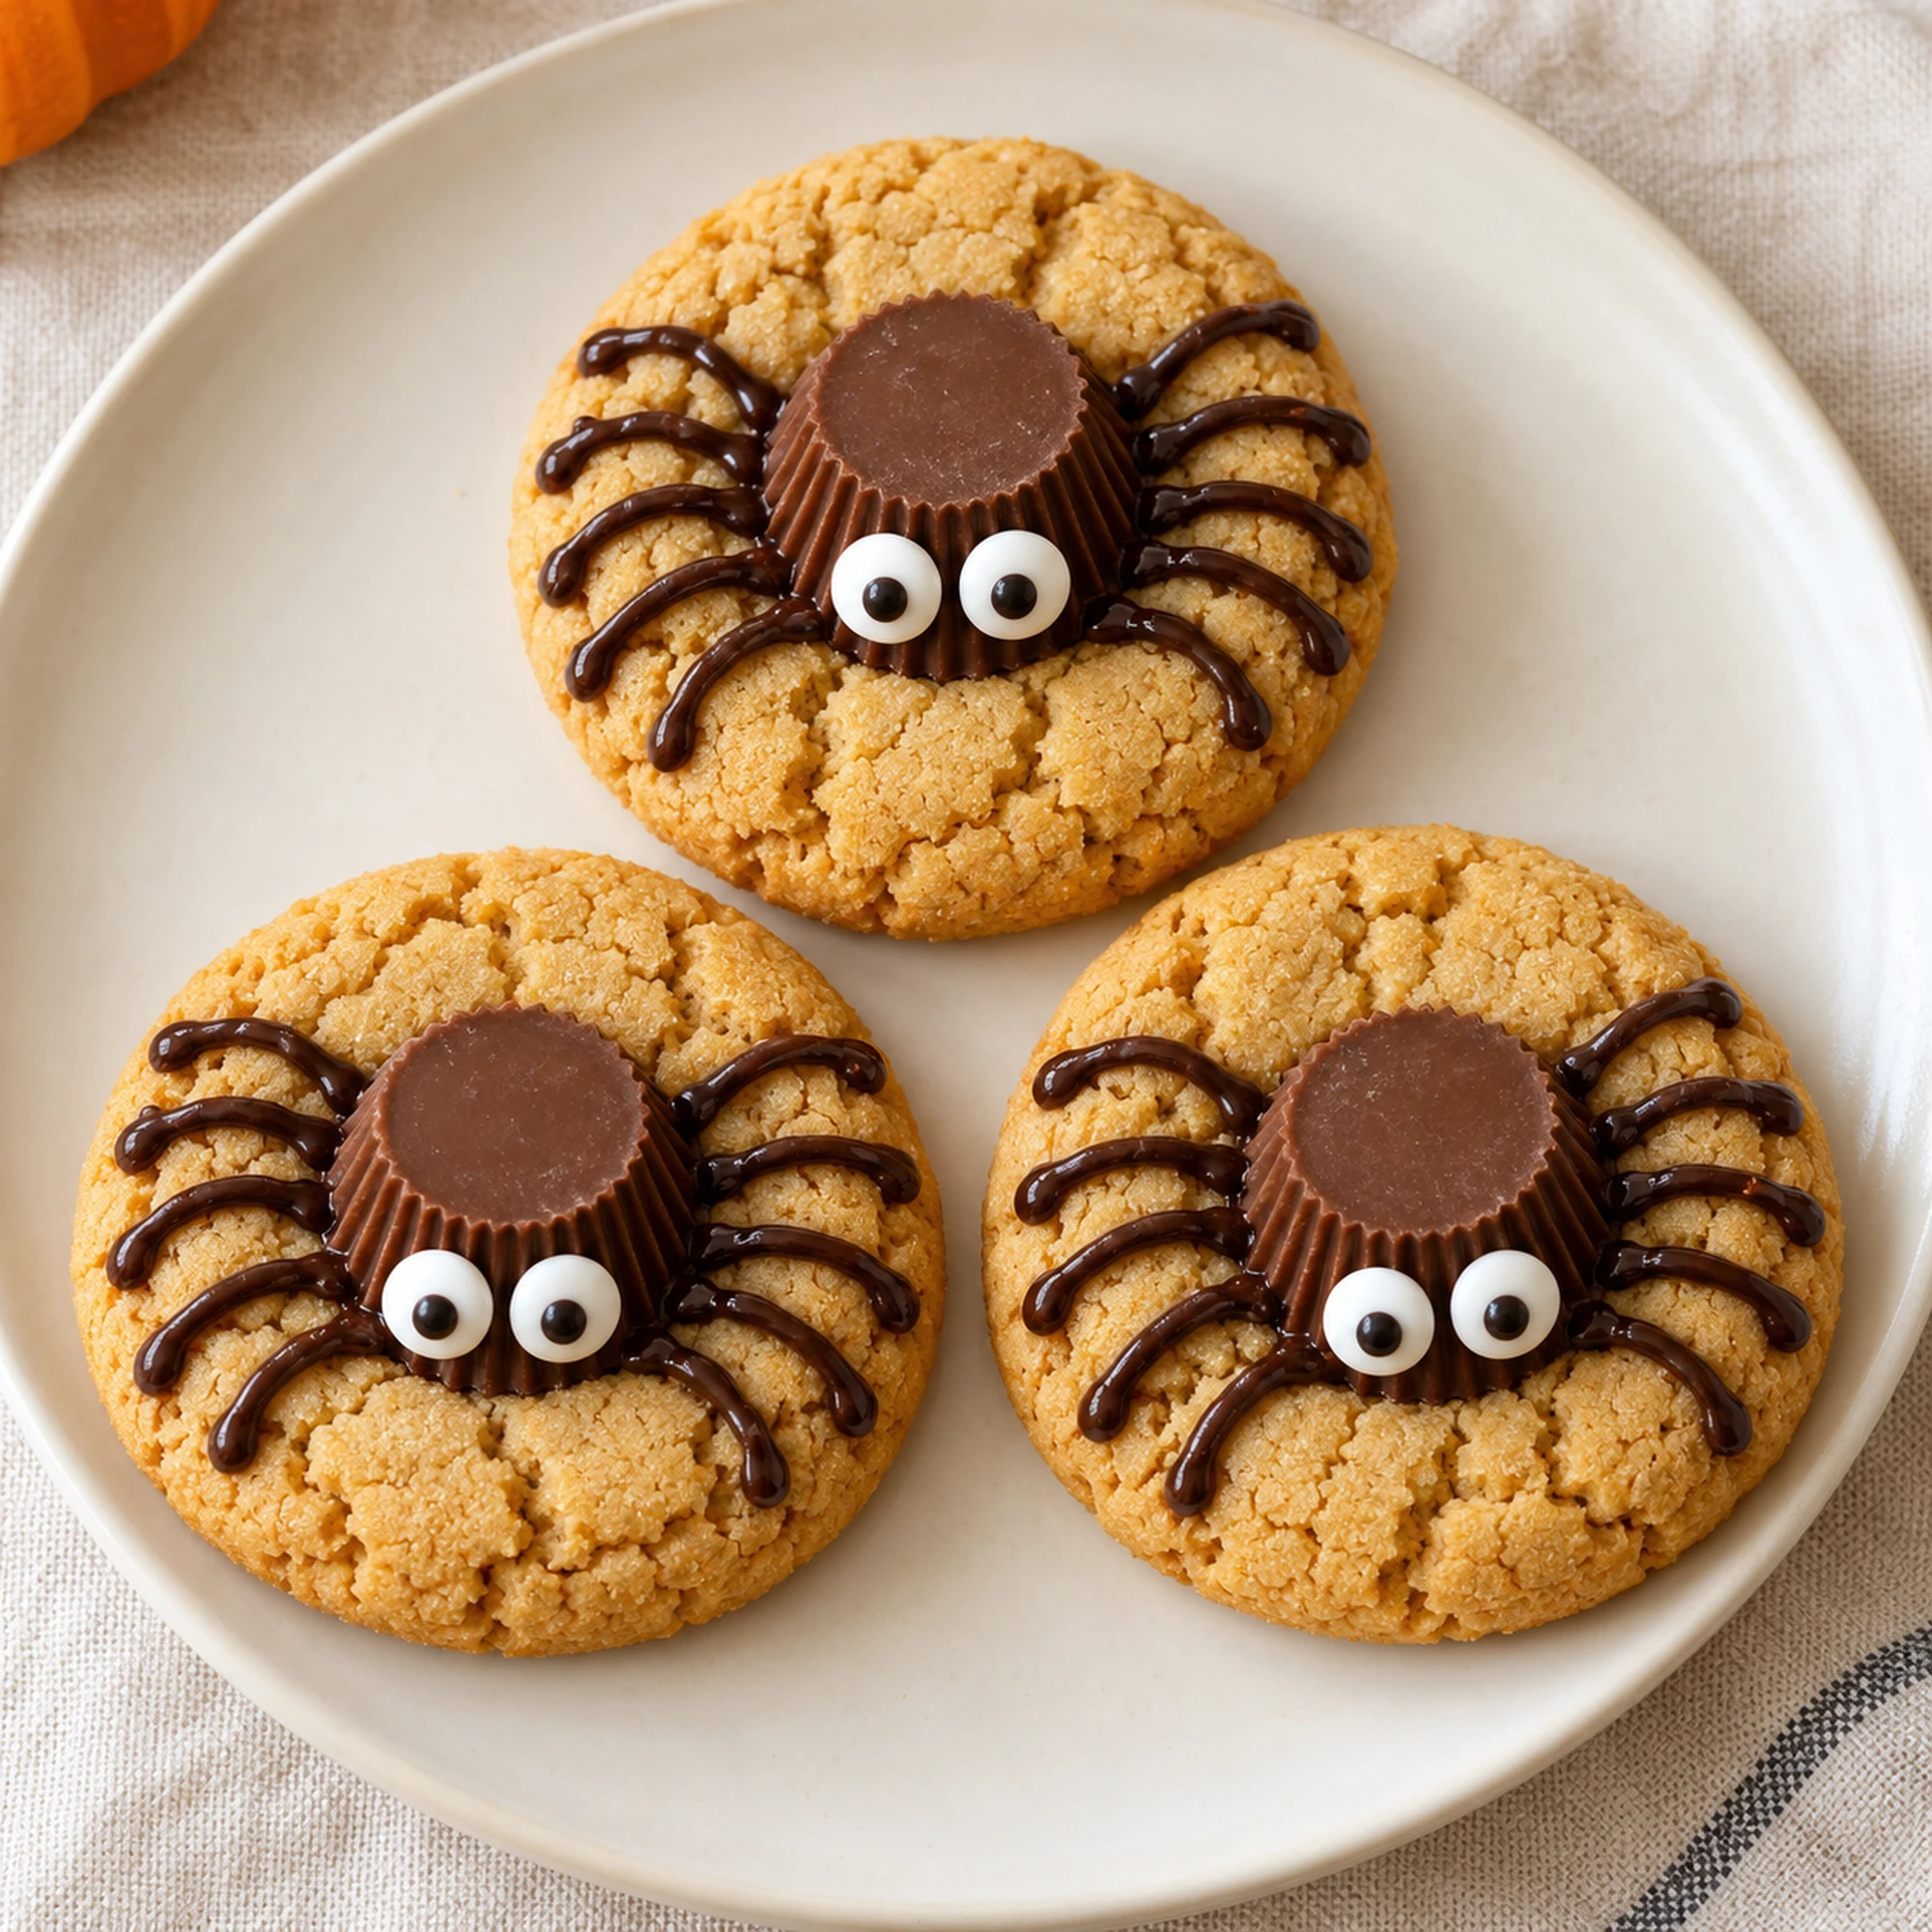
A tray of Halloween cookies can be playful without demanding an afternoon of detailed icing. These peanut butter spider cookies start with a soft, nutty cookie and get their character from a miniature chocolate peanut butter cup, two candy eyes, and a few piped chocolate legs. The decoration looks cheerful rather than gruesome.
The trick is to let the baked cookies cool completely before adding the chocolate bodies. A dab of melted chocolate holds each cup in place, so you do not have to race a hot tray or watch the candy collapse into a puddle. The batch makes 24 decorated cookies.
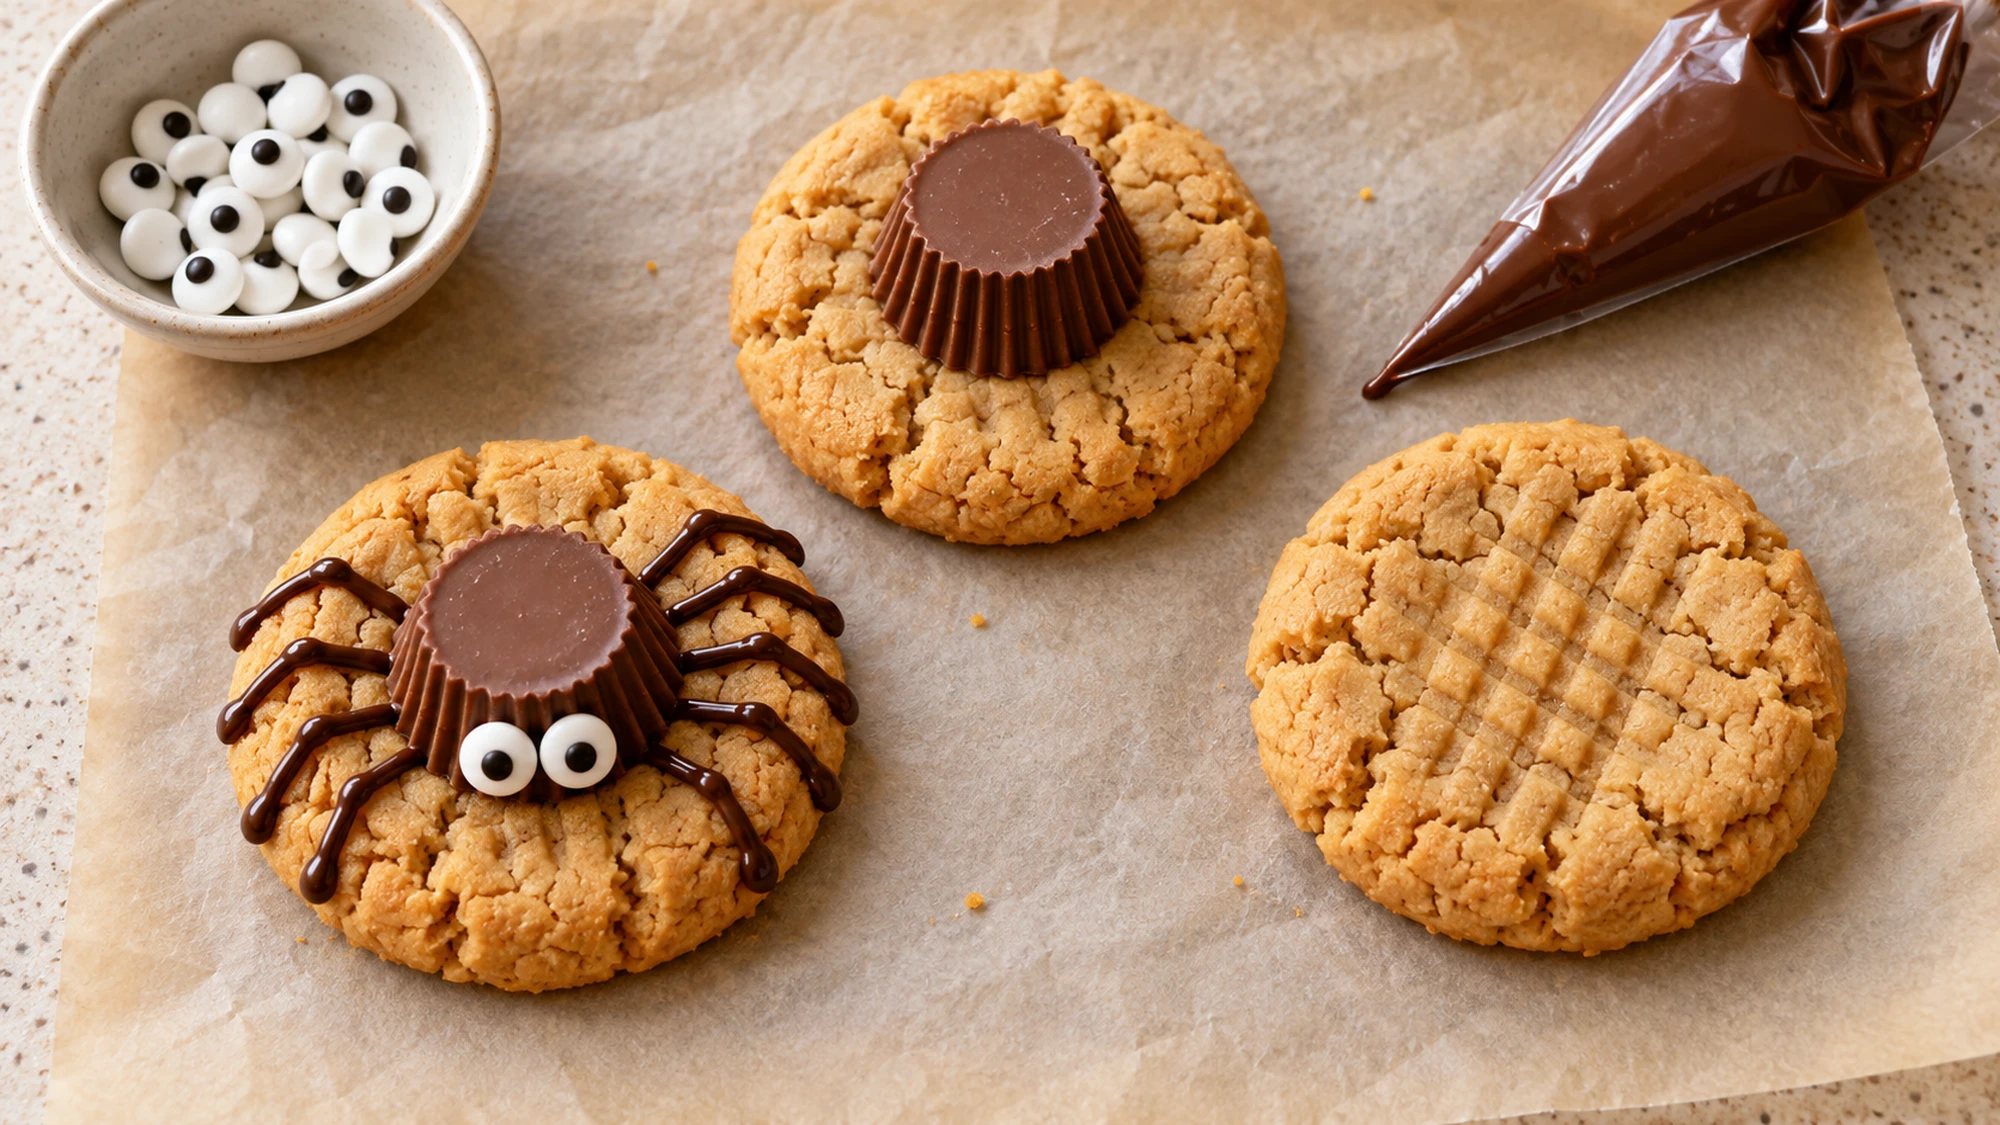
I like the slightly uneven legs; they make each spider look different without changing the recipe. Use a small piping bag or a food-safe zip-top bag with a tiny corner snipped off. Start with a smaller opening than you think you need because it is much easier to enlarge it.
Serving Suggestions for Peanut Butter Spider Cookies
Arrange the cookies in a single layer so the chocolate legs and eyes stay intact. A plain platter gives the decoration enough contrast without extra sprinkles. For a Halloween movie night, I would offer milk or an unsweetened drink alongside them rather than another very sweet topping.
- Let the chocolate set before packing. Separate stacked layers with parchment and avoid pressing down on the candy bodies.
- For a party, label the plate clearly: these cookies contain peanuts, wheat, eggs, milk, and potentially soy from the chocolate and decorations.
- Check school or event rules before bringing peanut desserts. Keep the original ingredient packages available if someone needs to review allergens.
Small candies can be a choking hazard. Serve thoughtfully for your guests’ ages and eating abilities, and choose a different dessert when hard decorations are unsuitable. The manufacturer’s candy information includes that warning along with ingredients and allergens.
Variations and Decorating Choices
The cookie base uses conventional creamy peanut butter rather than an oil-separated natural variety. That keeps the dough more predictable. I would keep the first batch simple, then change the appearance once the basic timing feels comfortable. These small decorating choices do not require rewriting the dough.
| Choice | Result | Practical note |
|---|---|---|
| Semisweet legs | Clear dark lines | Use a fine piping opening |
| Smaller candy eyes | A gentler expression | Check the package ingredients |
| No spider decoration | Plain peanut butter cookies | Still contains peanuts |
- Pipe four legs on either side of each body. They can curve slightly; perfect symmetry is unnecessary.
- If the chocolate becomes thick, warm it briefly and stir before continuing. Avoid splashing water into the bowl.
- Do not assume switching the peanut butter makes this allergy-safe. The candy cups also contain peanuts, and equipment can carry cross-contact.
Keep raw dough out of the tasting routine. Flour is a raw ingredient, and eggs can also carry harmful bacteria; the FDA’s flour-safety guidance explains why thorough cooking matters. Decorate only after the cookies have baked and cooled.
Health Benefits: Keep the Cookie in Perspective
Peanut butter contributes some protein and fat, but these cookies also include butter, sugar, and candy. They are a Halloween dessert, not a protein supplement or a food with special health effects. There is no need to give a seasonal treat a wellness claim to make it worth enjoying.
- The nutrition estimate includes the chocolate cups, piped chocolate, and a measured allowance for candy eyes.
- Cookie size matters: dividing the dough evenly makes the 24-cookie serving basis more useful.
- Allergen checks matter more than ingredient shortcuts. Review labels every time, including decorations; the FDA’s allergen guide explains the major food allergens.
Enjoy a portion that suits your appetite. If you need a different dessert for your guests, browse our dessert collection and check each recipe’s ingredients rather than relying on its name.
Bottom Line
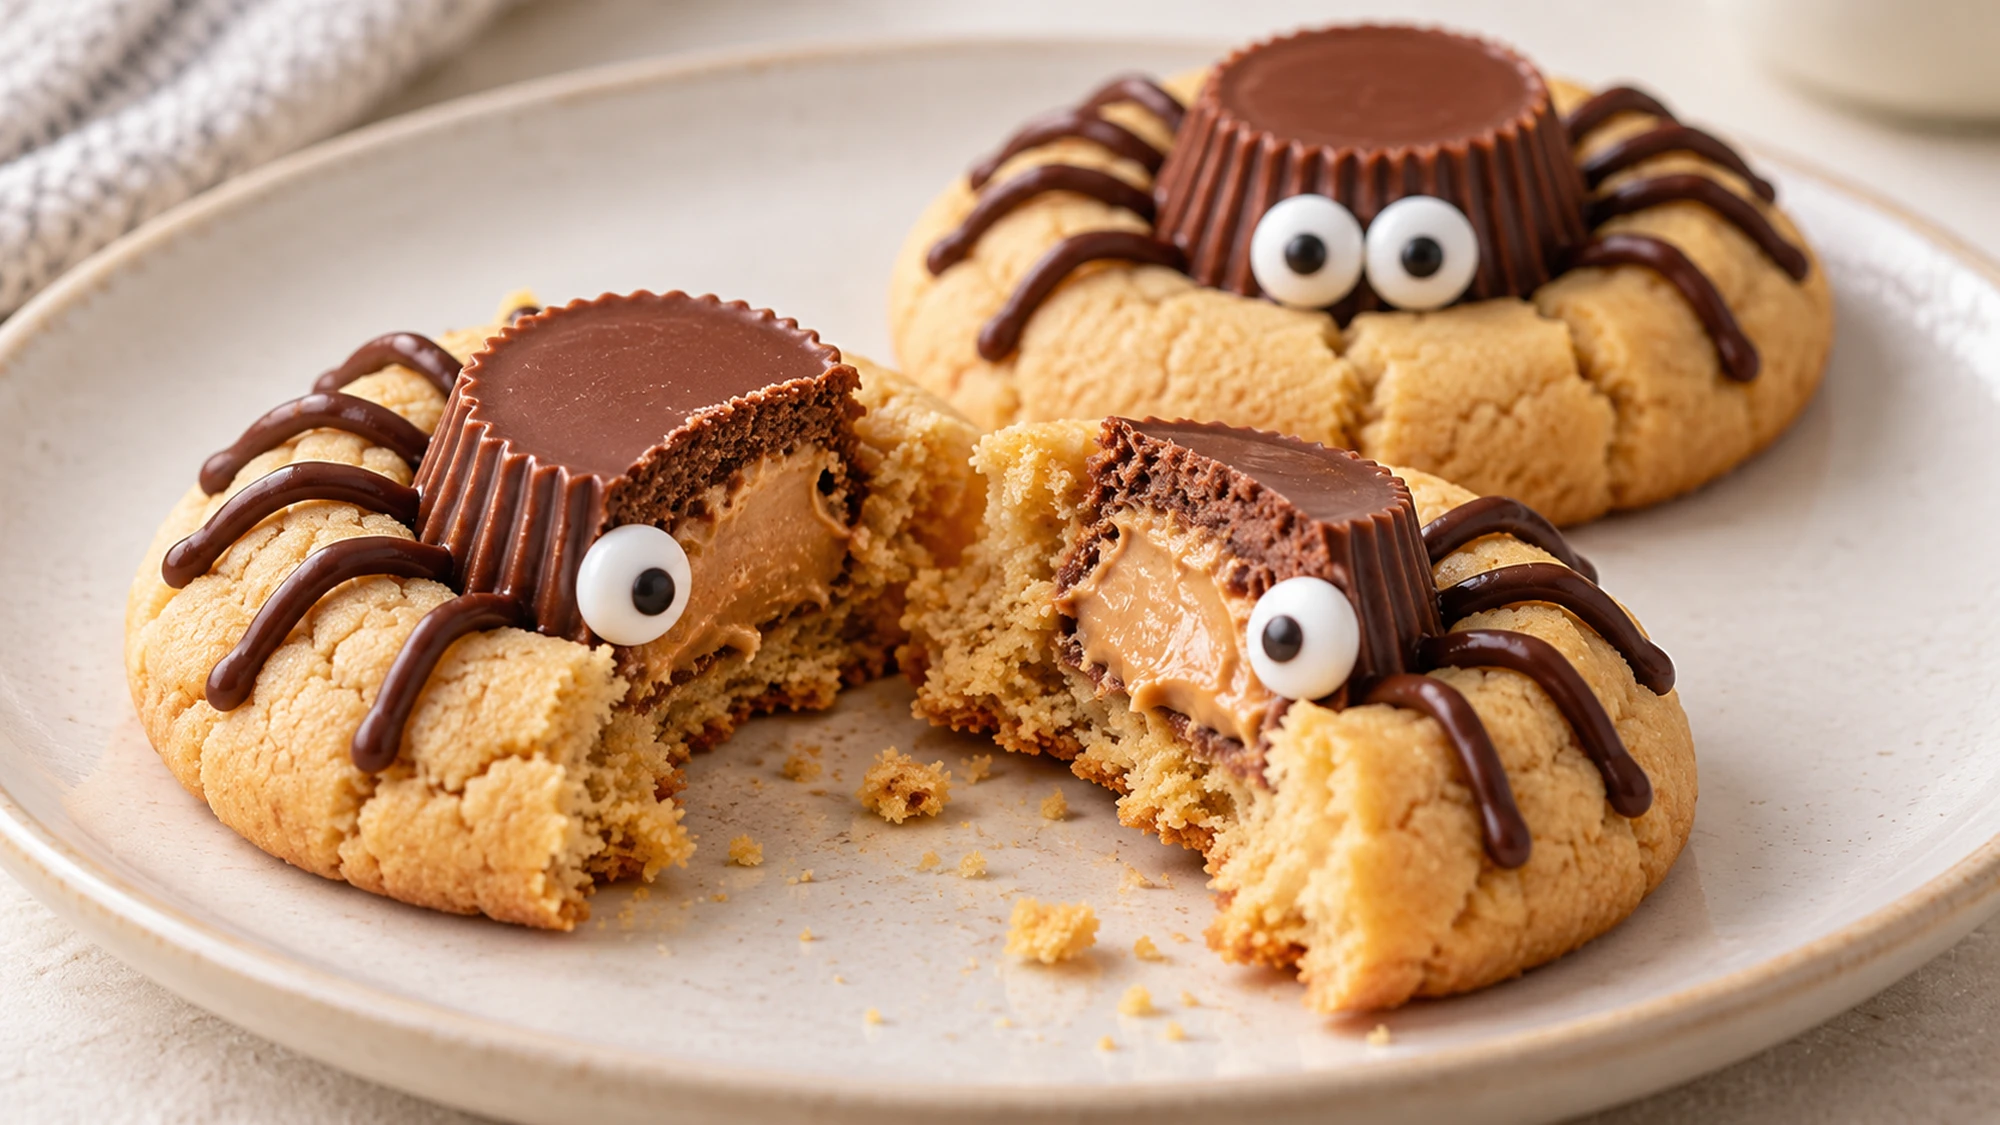
Peanut butter spider cookies work best when baking and decorating are separate, unhurried steps. Cool the cookies, attach the cups with chocolate, and let the little faces take shape. A few crooked legs are part of the fun; melted candy bodies are the problem worth preventing. Set out the unwrapped cups and counted candy eyes before you melt the chocolate, so the decorating stage stays organized rather than becoming a hunt through bags.

Peanut Butter Spider Cookies Recipe
Ingredients
Equipment
Method
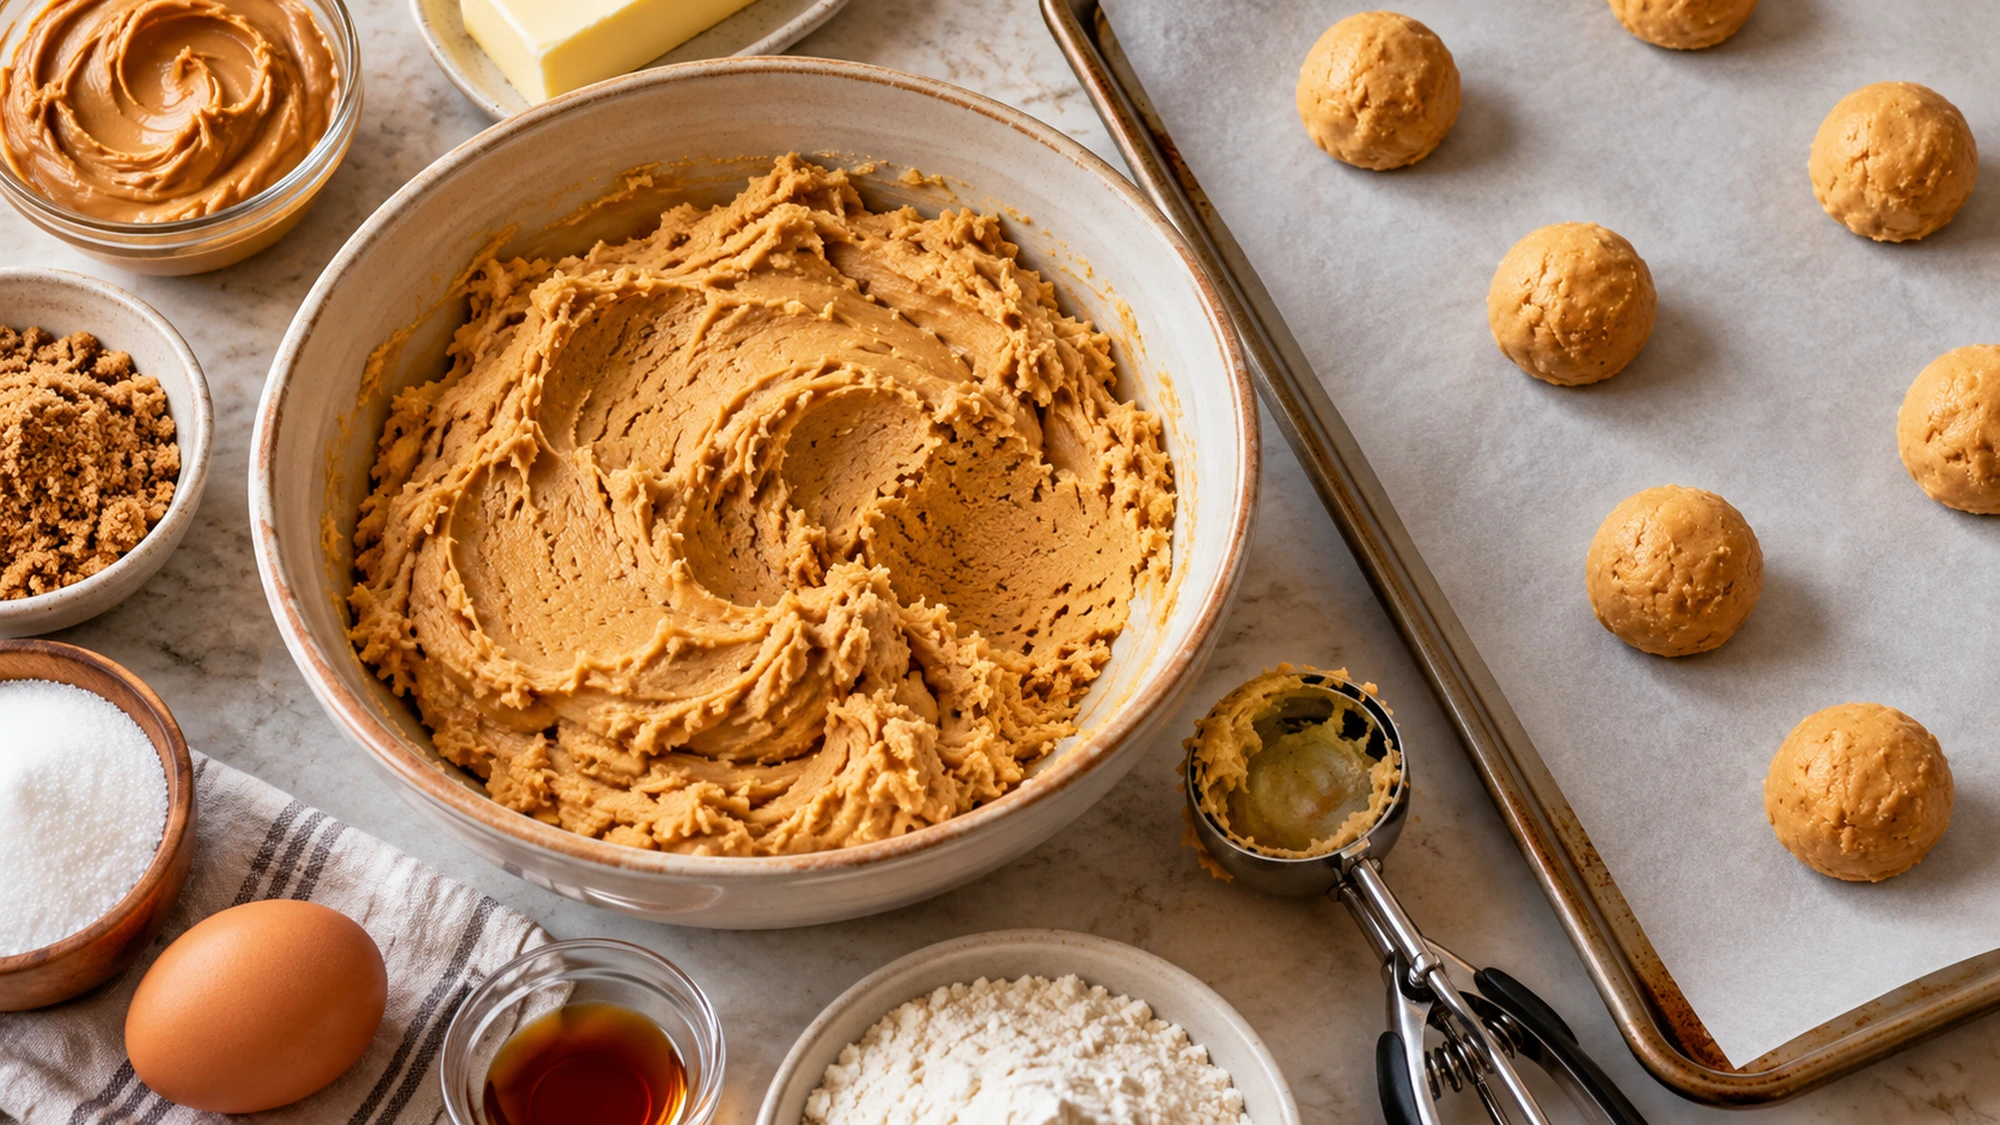
- Heat oven to 350°F. Line two baking sheets with parchment. Whisk flour, baking soda, and salt together.
- Beat softened butter, peanut butter, brown sugar, and granulated sugar until evenly creamy, about 2 minutes. Beat in egg and vanilla. Stir in the flour mixture just until combined.
- Divide into 24 equal portions, about 27 g dough each, and roll into balls. Space 2 inches apart on the sheets and gently flatten to about 1/2 inch thick. If dough is too soft to shape, chill briefly until manageable.
- Bake one sheet at a time for 10–12 minutes, until edges are set and lightly golden and the tops are no longer wet. Allow 24 minutes for two batches. Let stand on the sheet for 5 minutes, then transfer to a rack to cool completely.
- Melt the chocolate chips in a microwave-safe bowl in 20-second bursts, stirring between each, just until smooth. Spoon into a piping bag with a small opening.
- Place a small dot of melted chocolate in each cooled cookie center. Set an unwrapped miniature peanut butter cup upside down on the dot. Pipe four thin legs on each side of the cup. Attach two candy eyes to the front with tiny chocolate dots.
- Let the chocolate set fully, about 20 minutes in a cool room. Store in an airtight container in a cool, dry place for up to 3 days for best quality; keep away from heat that melts the decorations.