
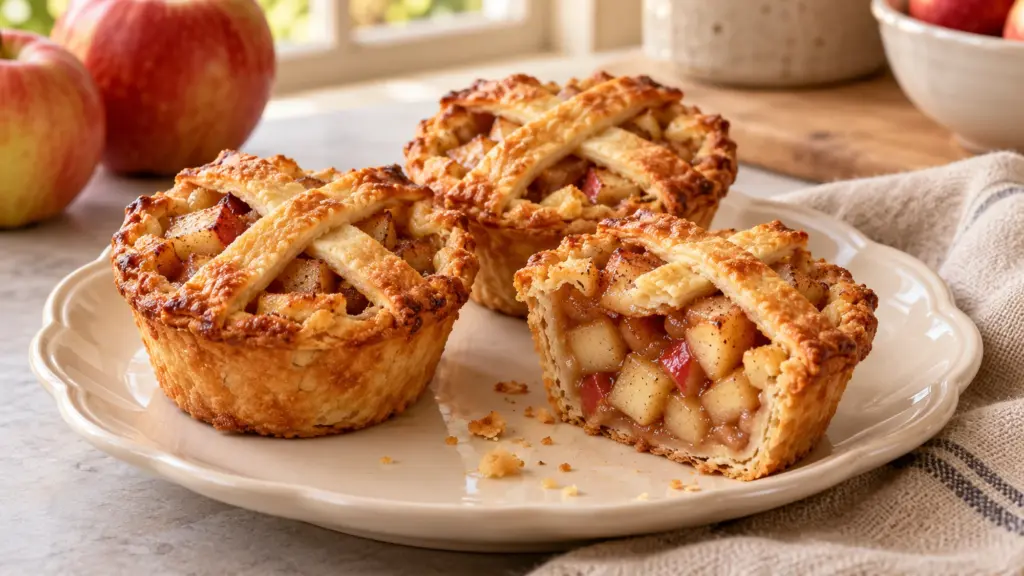
Mini apple pies give you the buttery pastry and cinnamon filling of a full pie in individual muffin-pan portions. This version uses a homemade all-butter dough, finely diced apples with their skins left on, and two simple pastry strips across each top. You get the look of a little pie without weaving twelve tiny lattices.
The most useful step happens before assembly: cook the apples briefly, then let the filling cool. Smaller apple pieces fit neatly inside the pastry cups, while the short stovetop cook reduces the risk of browned crust surrounding firm fruit. Keep the dough cold and give yourself time for rolling; this is a relaxed baking project, not a rushed dessert.
Serving Suggestions for Mini Apple Pies
Let the pies rest before lifting them from the pan. Hot pastry breaks easily, and the apple filling can be much hotter than the crust suggests. I would serve these slightly warm, when the butter aroma is noticeable but the filling is comfortable to eat. A thin spoon or small offset spatula helps support each base.
- For a dessert plate, offer one pie on its own or with a little vanilla ice cream. Add the ice cream only when serving so the pastry does not sit in melted cream.
- For a gathering, arrange the cooled pies in a single layer rather than stacking them. The crossed pastry strips can break under another pie, especially while they are still warm.
- For a second dessert choice, browse the Nutrelle Eats dessert collection. Something creamy can provide contrast without asking you to make another pastry dough.
Refrigerate cooled leftovers in a covered container for up to four days. Rewarm individual pies in a 325°F oven until heated through, checking after about ten minutes. The microwave is quicker, but it softens the crust; I prefer the oven when keeping the pastry texture matters.
Let the filling settle, support the bottom as you lift, and save any ice cream for the moment of serving.
Variations and Pastry Troubleshooting
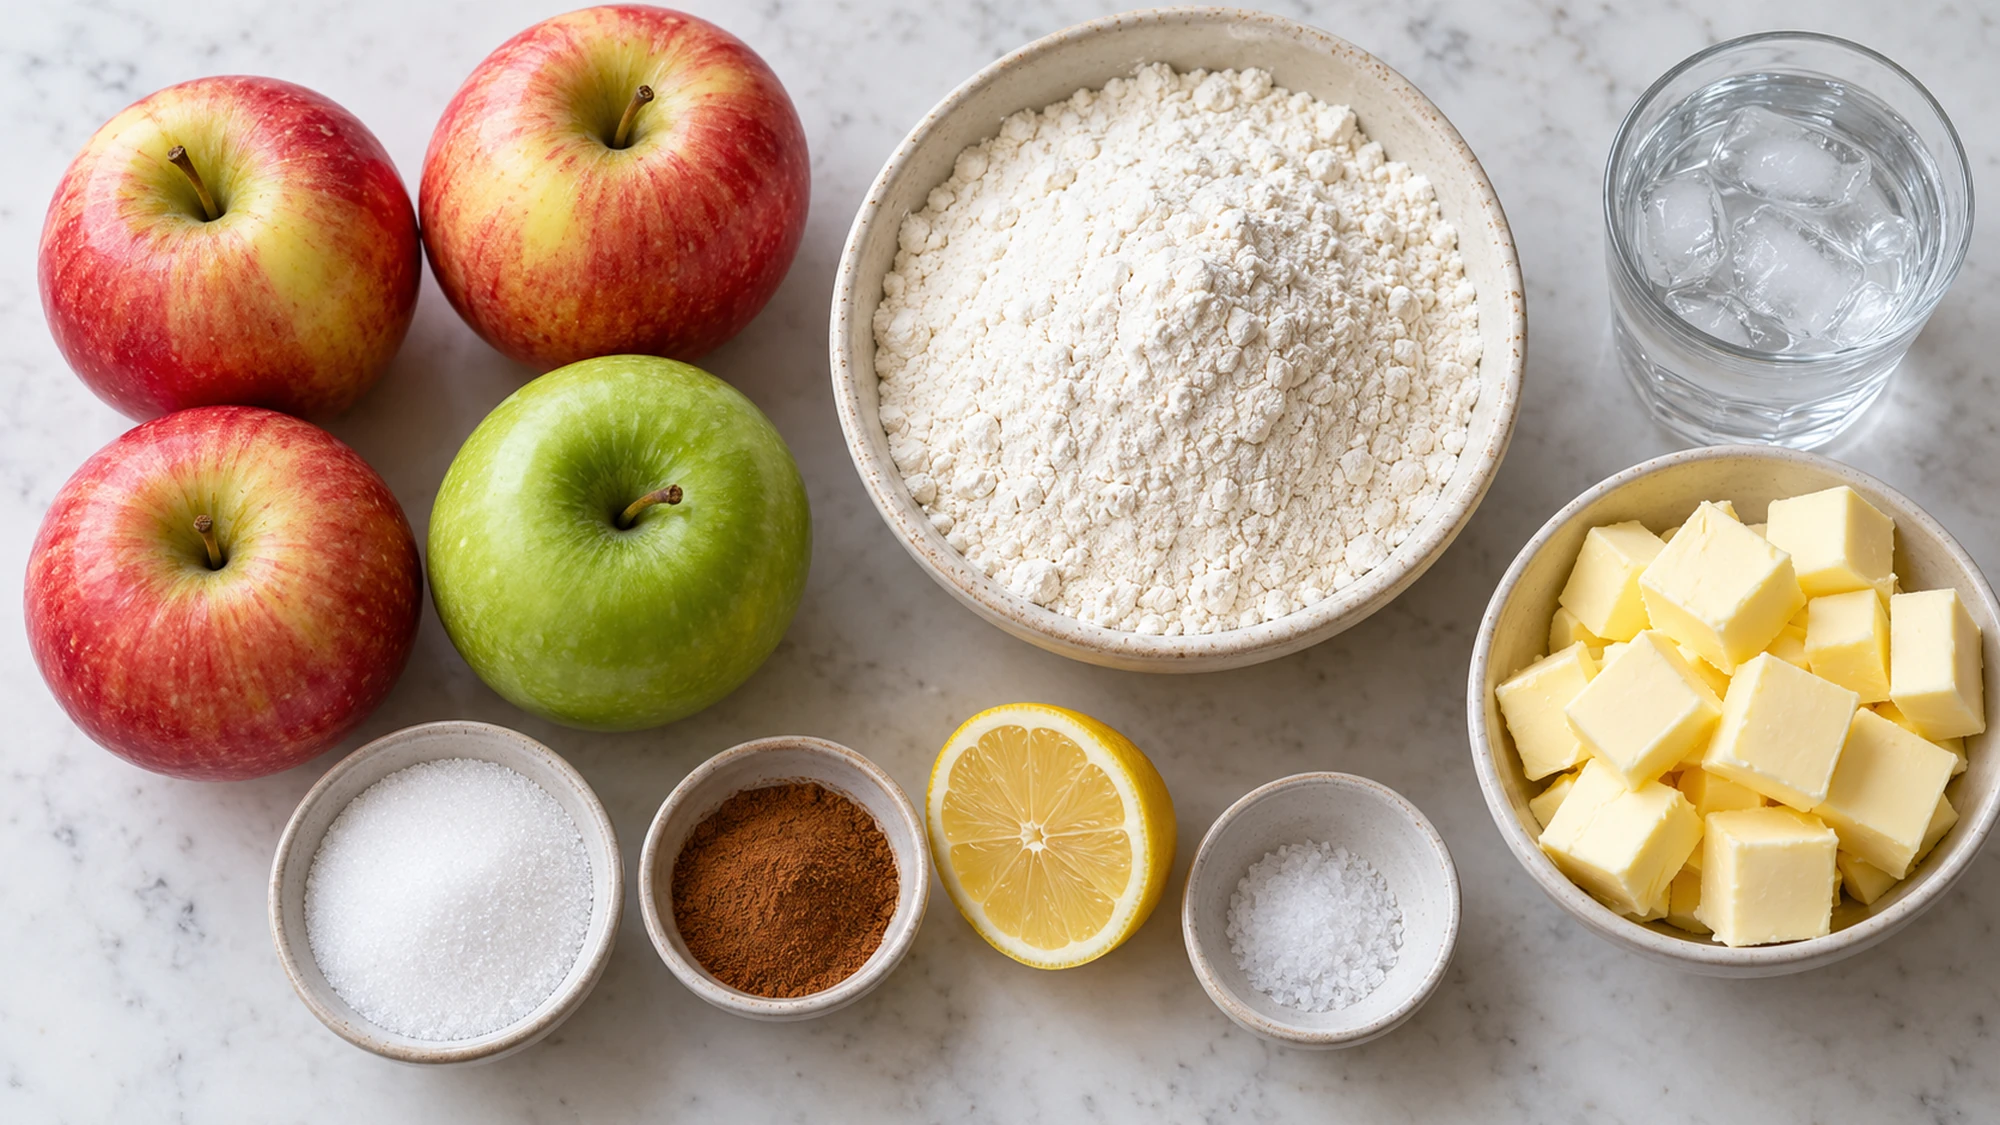
Use firm apples you enjoy eating, such as a mix of Granny Smith and Honeycrisp, and cut them into small, even cubes. Since the skins stay on, rinse the apples first. The FDA recommends plain running water, not soap, for cleaning produce. Remove the cores completely before weighing the prepared fruit.
| What you notice | What to do |
|---|---|
| Dough cracks at the edges | Let it stand briefly, then patch small cracks with a pinch of dough. |
| Dough feels greasy or sticky | Pause and chill it; avoid working more flour into warm pastry. |
| Filling looks watery | Keep cooking briefly until the juices coat the apples, then cool. |
| Tops brown early | Lay foil loosely over the pan while the lower pastry finishes baking. |
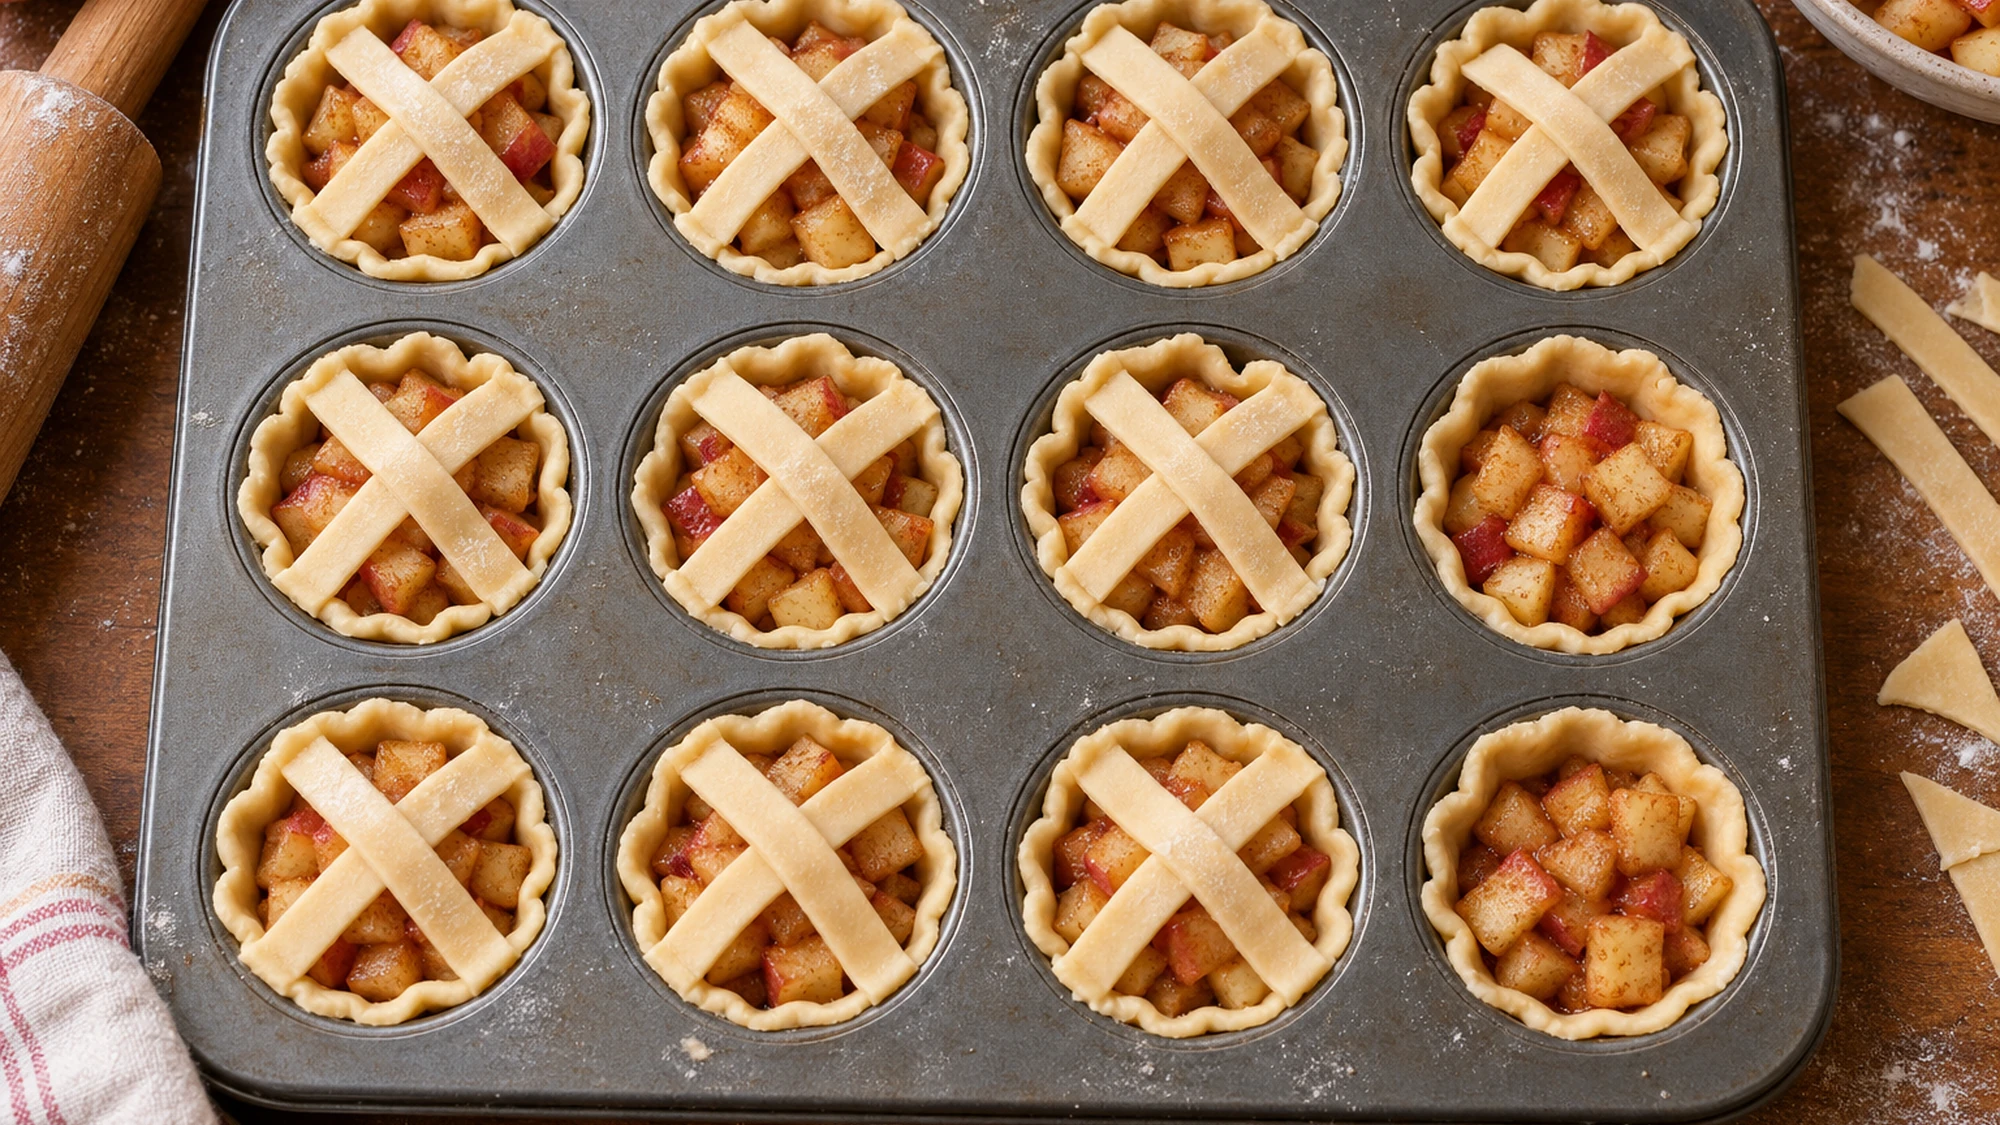
Two crossed strips leave plenty of open space for steam to escape. Press their ends onto the pastry rim so they stay attached. You can add a small pinch of ground ginger to the filling, but keep the apple quantity unchanged. Extra fruit may seem harmless until the cups overflow and sticky juices glue the edges to the pan.
Cool filling and cool dough make assembly easier. If either feels warm, a short pause is better than forcing the next step.
Health Benefits in Perspective
Apples contribute some fiber, including from the skins, but a small pie is still a pastry dessert. The FDA explains fiber’s role in normal bowel function. The amount here depends on the apple portion as well as the dough; it is not a reason to describe the pies as a health treatment.
The nutrition estimate covers one of twelve pies and includes the full measured dough, pan butter, and finishing sugar. Ice cream is separate. Keeping the serving individual makes it easy to choose one pie, while the ingredient list stays transparent about the butter, flour, and added sugar that make it a dessert.
Enjoy the apple filling and flaky edges for what they are, without attaching a bigger nutritional promise.
Bottom Line
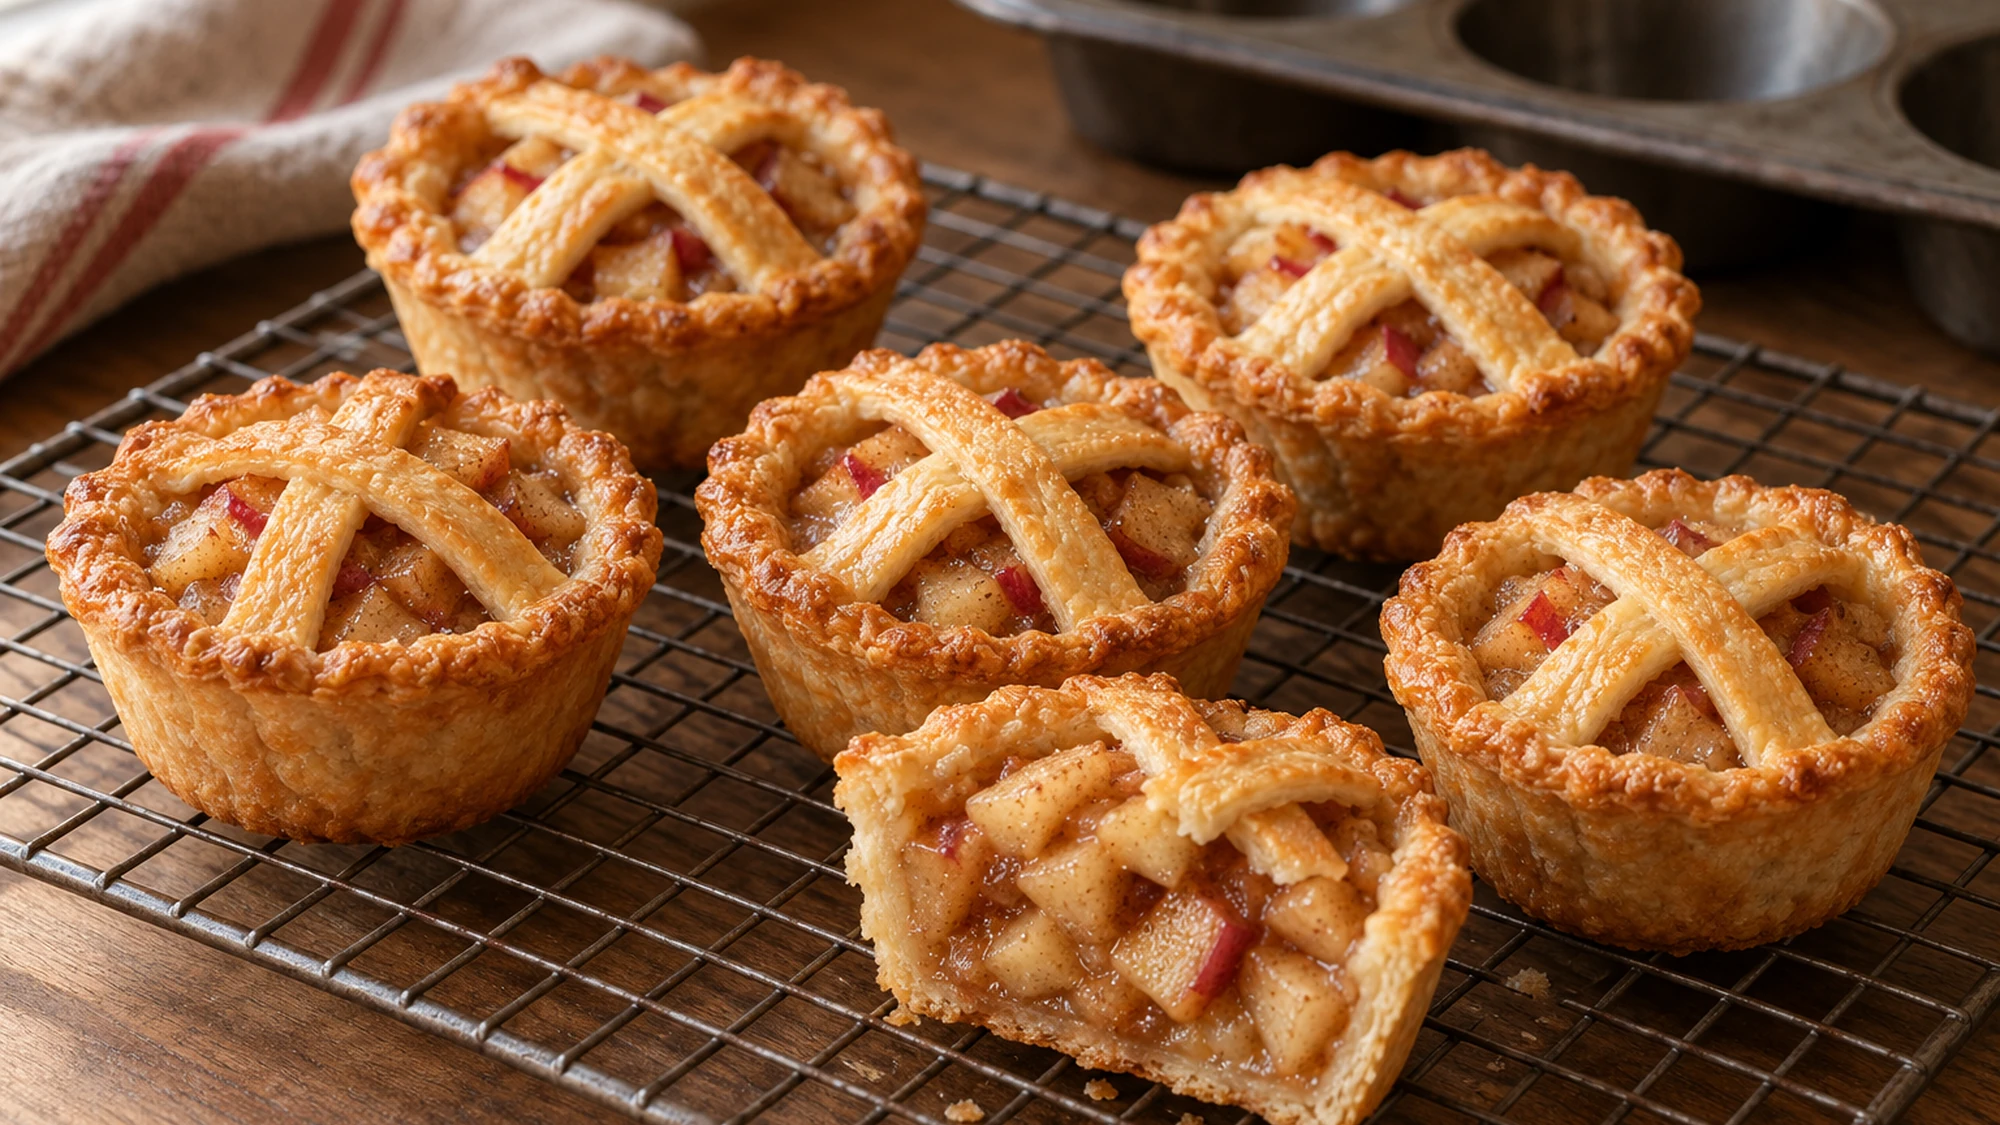
Look for golden pastry and bubbling filling, then allow time for the pies to firm before removing them. Small cracks can be patched before baking, but overfilled cups are harder to rescue. Measure the filling across all twelve shells before adding the pastry strips so no pie gets left short.
A standard muffin pan, evenly diced apples, and a simple crossed top make these little pies manageable without special molds.
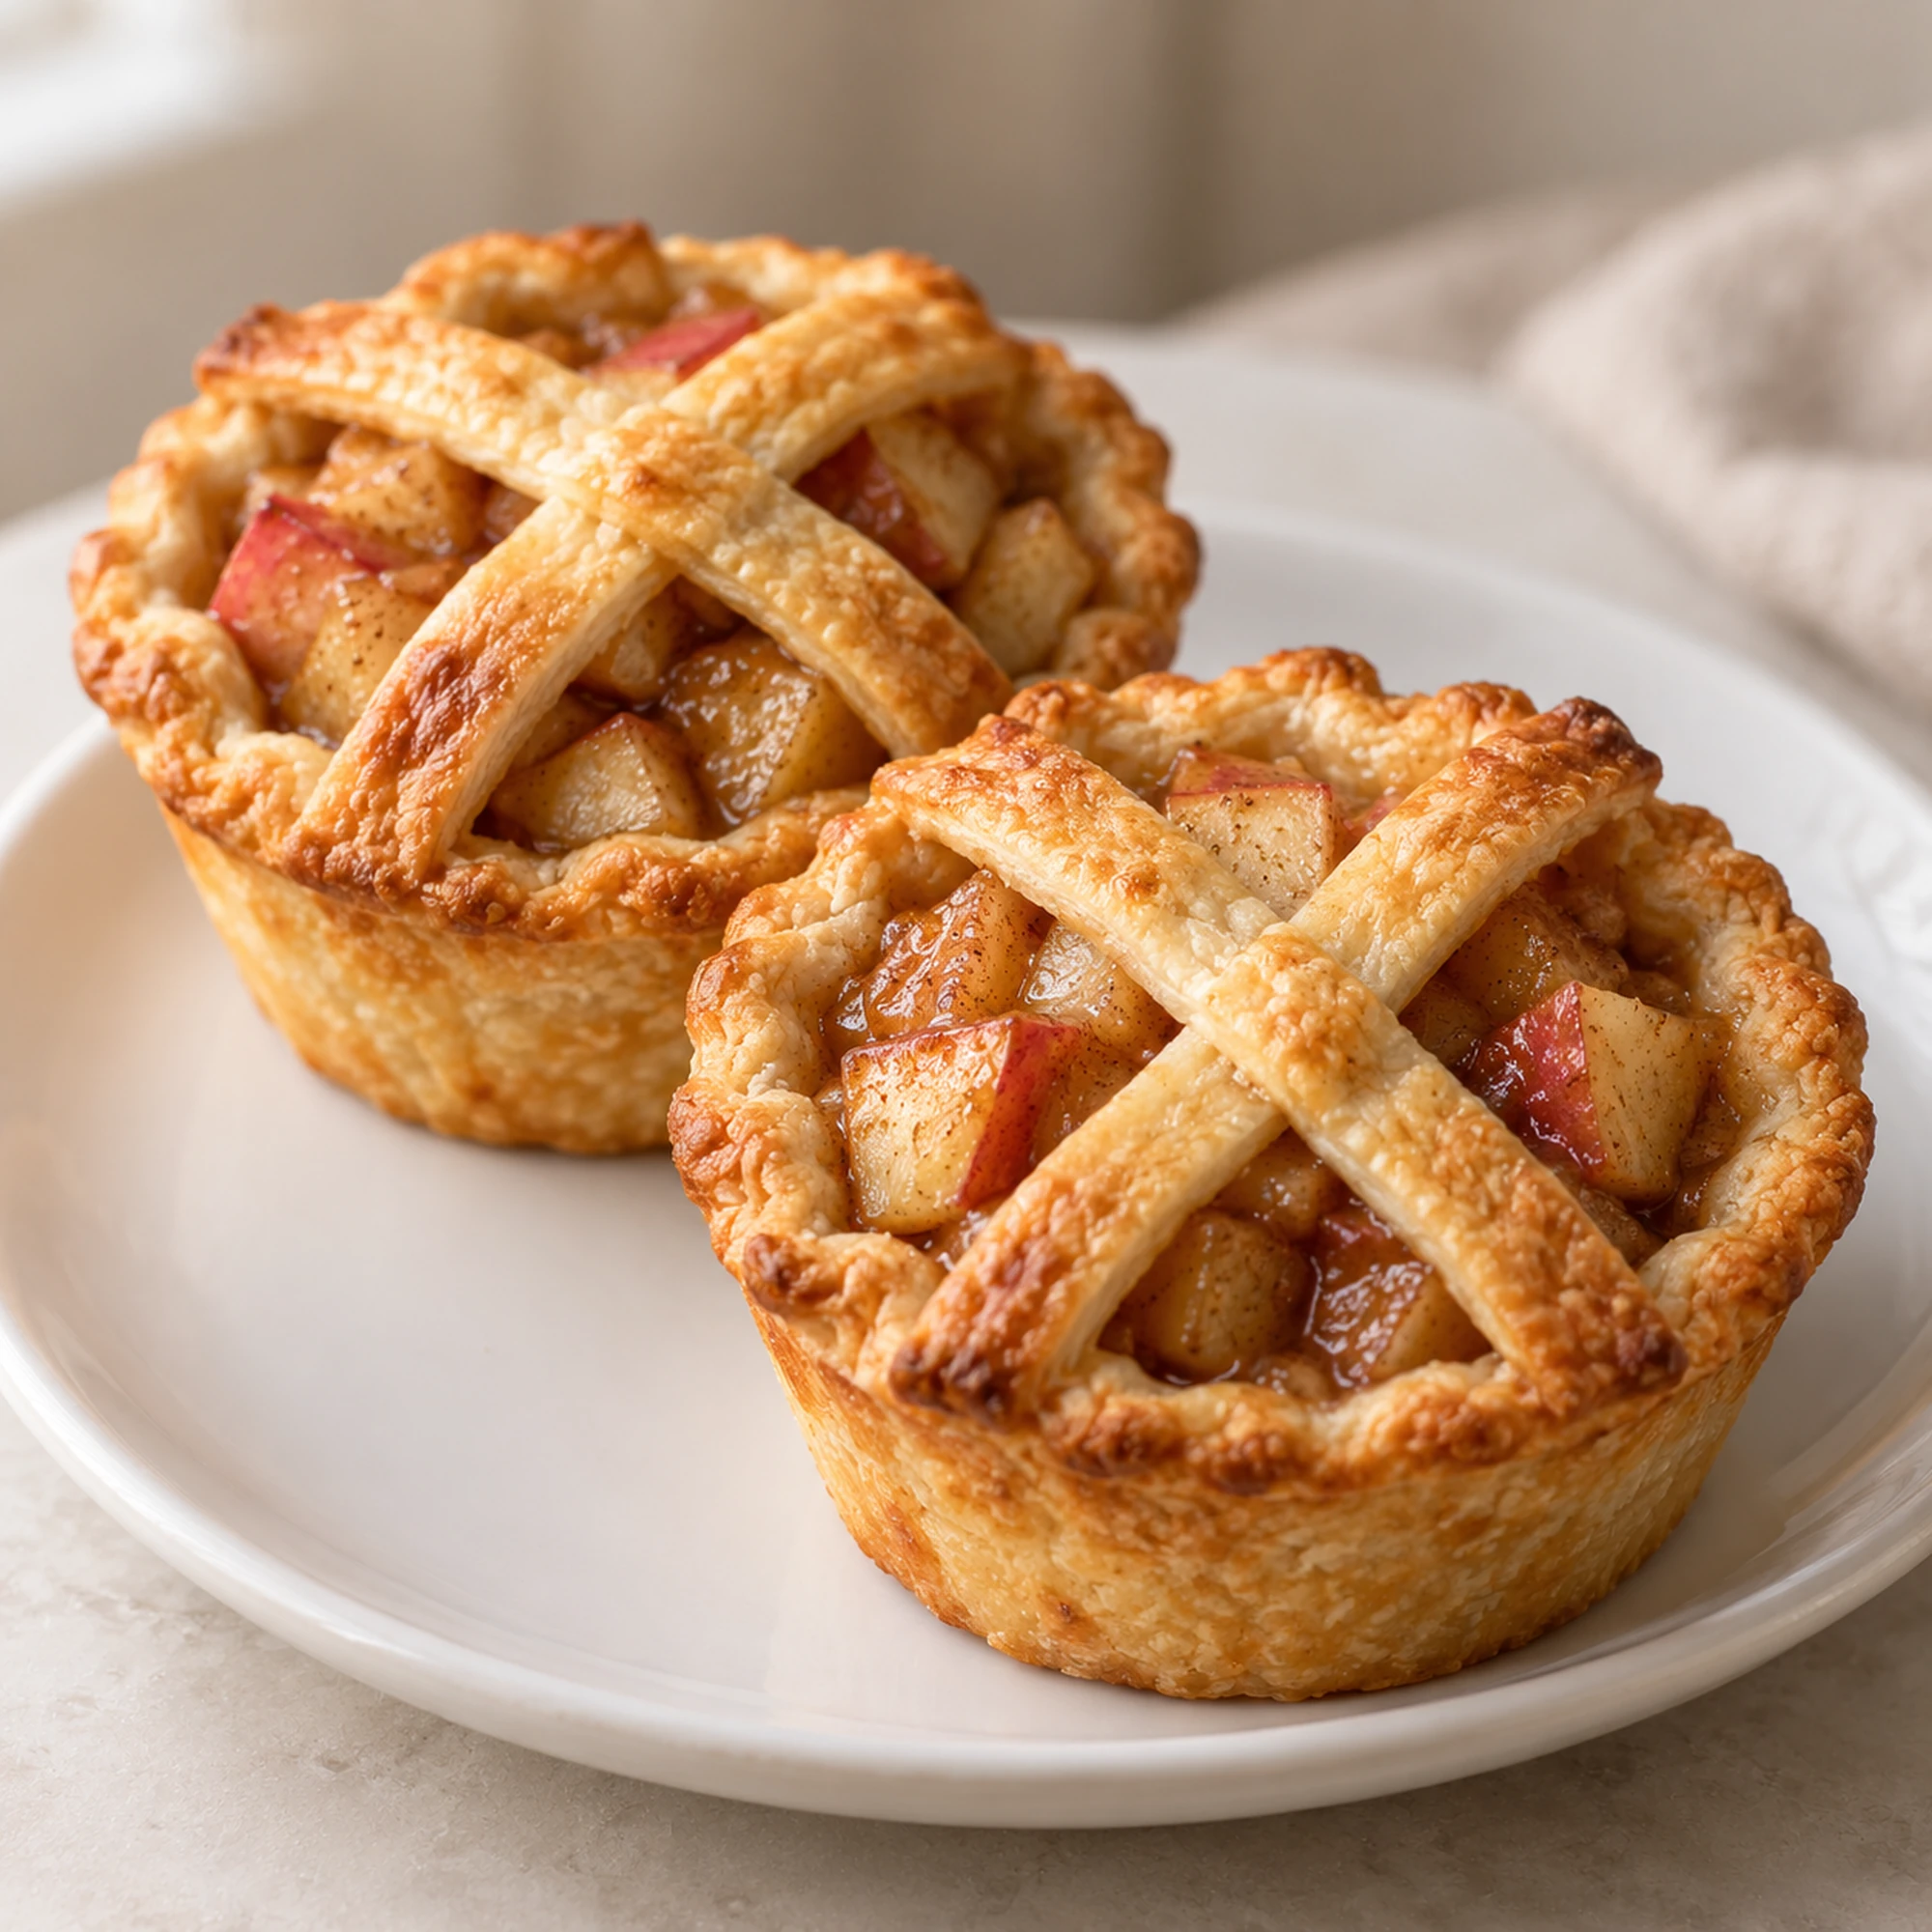

Mini Apple Pies Recipe
Ingredients
Equipment
Method
- Whisk the 2 cups flour, pastry sugar, and salt. Cut or rub in the 170 g cold butter until coarse crumbs remain with some small butter pieces. Add ice water gradually, tossing with a fork until the dough holds when squeezed. Press together without kneading. Wrap and refrigerate for at least 30 minutes.
- Rinse the apples, remove cores, and dice finely, keeping the skins. Melt the filling butter in a skillet. Add apples, filling sugar, lemon juice, and cinnamon. Cook over medium heat for 6–8 minutes, stirring, until the fruit begins to soften. Mix the filling flour with the tablespoon water, stir into the apples, and cook for about 2 minutes more until the juices thicken and the apples are almost tender. Spread on a plate and let cool completely.
- Heat the oven to 375°F. Butter all 12 cups of a standard metal muffin pan. Divide the dough into 12 equal portions. Keep unused portions refrigerated. Reserve about one-quarter of each portion for its top; roll the rest on the lightly floured surface into a round about 3 3/4 inches wide and roughly 1/8 inch thick. Ease into a muffin cup without stretching, patching any cracks.
- Divide all cooled filling evenly among the shells, about 2 1/2 to 3 tablespoons each, without heaping above the rims. Roll the reserved dough and cut two narrow strips for each pie. Cross them over the filling and press the ends onto the rim. Lightly dampen the strips with water and sprinkle the finishing sugar evenly over all pies. Chill briefly if the dough has softened.
- Bake for 28–35 minutes, until the pastry edges are golden brown and the filling bubbles through the openings. If the tops color early, cover loosely with foil. Check a pie at the edge: the sides should be set and golden, not soft and raw-looking. Continue baking if needed.
- Cool in the pan for 20 minutes. Loosen the rims gently with a thin knife and lift each pie with a small spoon or offset spatula supporting its base. Cool at least 10 minutes more before serving. Refrigerate cooled leftovers, covered, for up to 4 days.